Max4out Mountain Bike Assembly: Complete A to Z Guide
As an affiliate, we may earn from qualifying purchases. We get commissions for purchases made through links on this website. You can read more on our Affiliate Disclaimer here.
How to assemble a bike from scratch may be quite the ordeal for most of us. Therefore, we would more than likely leave this job to a bike mechanic rather than doing it ourselves.
Indeed, assembling a bike bought online means we have to learn how to assemble a mountain bike out of the box or the package it comes in, which is most probably not 100% preassembled.
Thus, it is a skill you have to learn through practice and a step-by-step guideline. So, here we give you an in-depth set of Max4out Mountain bike assembly instructions.
What is Max4out?
Max4out is a bike brand that makes all sorts of bikes, be it road bikes or mountain bikes or fat-tire bikes, or folding bikes. Of course, these criteria are interchangeable to an extent, as there are Max4out folding mountain bikes, Max4out fat tire mountain bikes, and Max4out hybrid bikes, the last of which can serve as both road and mountain bikes.
Here, we focus on the assembly of Max4out mountain bikes. Fortunately for us, several Max4out mountain bikes come 85% preassembled, so you only have the rest 15% assembling to do. If you would have the intent to buy one; you can check out the most efficient Max4out mountain bike review.
Caution: Max4out mountain bikes, and other bike types produced by Max4out, are not high-end bikes like other big-name brands. However, the quality of the best Max4out mountain bikes is more than satisfactory. That said, Trek or Specialized bike assembly instructions can very well be different from Max4out mountain bike assembly instructions.
What We Mean by Bike Assembly
When we say Specialized bike assembly instructions or Max4out mountain bike assembly instructions, we mean that bike brands give a manual for how to assemble a bike step-by-step upon receiving the package.
An instruction manual or video is needed for bike assembly because when we order something online, the product comes in a package, and obviously, bikes cannot come in a box that human hands can carry for delivery at your doorstep.
Instead what happens is that most bikes you buy online, such as from Amazon, will come in discrete parts so they fit in a package.
Now, this does not mean we have to solve a very intricate puzzle by piecing together every small bike component. Rather, many brands offer bikes that are already preassembled beforehand, with only a few components like the handlebar and the seat post left to be assembled by you the buyer.
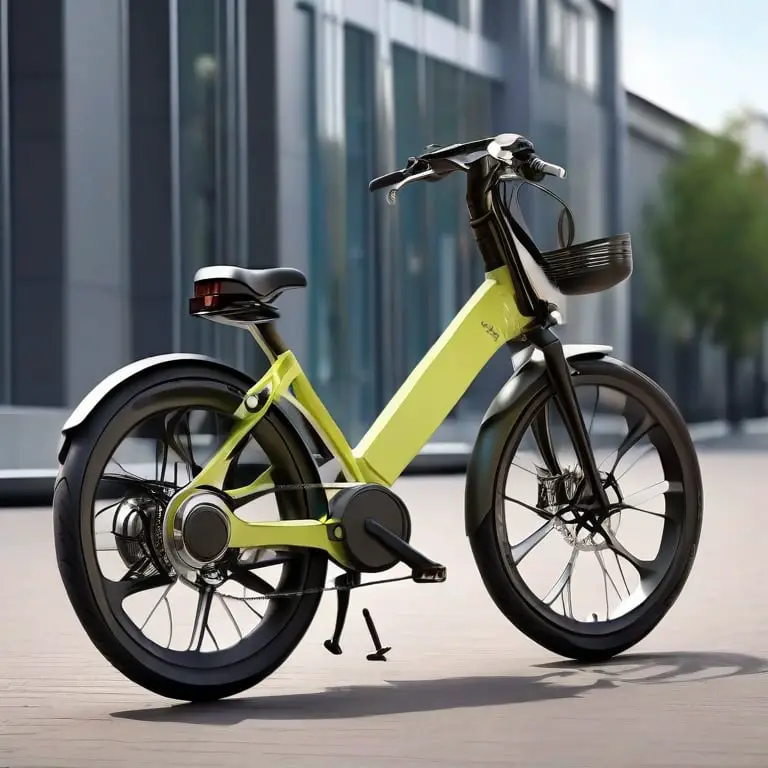
Assembling a Max4out Mountain Bike
In the majority of cases, Max4out mountain bike assembly is easy and only requires the assembly of the pedals, the front wheel, the seat, and the inflation of the tires.
That’s it! And the order of the assembly shown here in headings is not necessarily the order you have to follow. In other words, you can assemble the Seatpost or the handlebars before working on the pedals and the wheel.
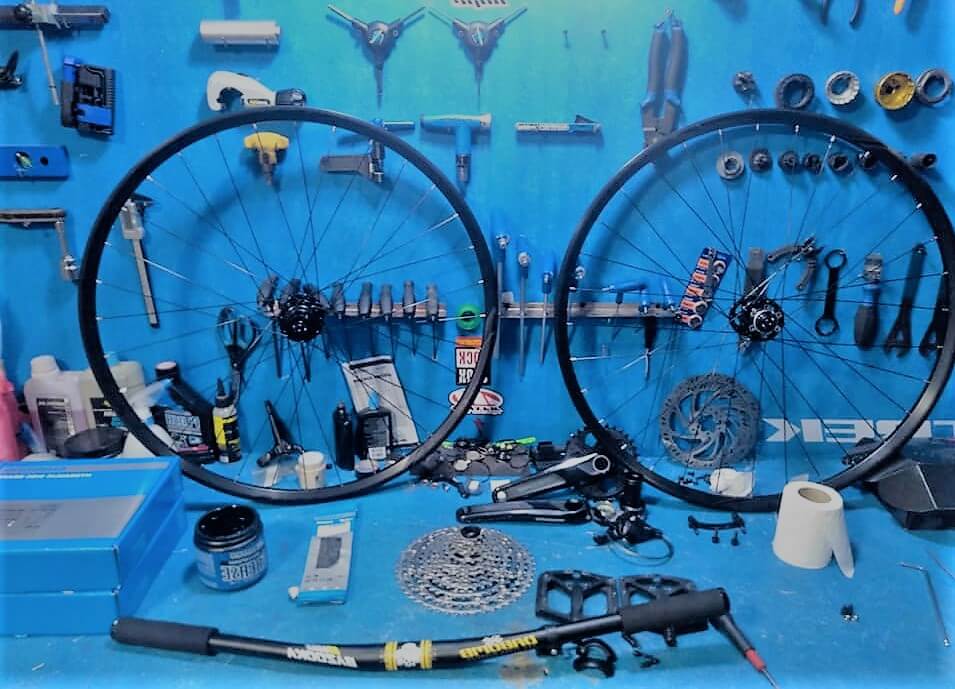
Tools You Will Need
Here is a list of the tools you will need for a Max4out mountain bike assembly.
- Screwdriver
- Wrench
- Grease
- Bike Pump
Here is the following guide that you can implement in your bike assembly:
- Assembling the Pedals
Max4out mountain bikes use clipless pedals. And just like other bike pedals, you have to attach the right pedal to the right side — the left pedal to the left side, and the right pedal to the right side of the bike.
How can you tell which pedal is for which side? There are two ways to know. First, there should be a letter written on the pedal’s body indicating the side. Look closely at the pedals and you’ll see it easily.
If for some reason there isn’t any such indication, then look at the threads. The left pedal has threads spun on the left and the right pedal’s threading spins to the right.
After figuring out which pedal is for which side, lubricate the pedals’ connecting threads by using grease. Then start with the right side pedal and connect it to the drive side crank. This will be on the right side of the chain.
Tighten the pedal in a clockwise direction. You can first use your hand(s) and then use a wrench to tighten it properly. You might need a hex wrench if the pedal’s spindle has a hexagonal shape.
Repeat the process for the left pedal, with only one change. Instead of clockwise tightening, you need to tighten the left side pedal in an anti-clockwise direction. And, voila! Pedals engaged.
- Assembling the Front Wheel
The goal is the insertion of the axle through the hub, which only leaves screwing the axle into the frame.
Before that, you need to unscrew the removable skewer side. Be careful that you do not lose the springs. Take out one spring at a time and then attach them and the nut to the skewer once it is in the hub.
If your Max4out mountain bike has a quick-release system, the process is done quite semi-automatically. You just attach the quick release skewer to the wheel’s hub and then adjust.
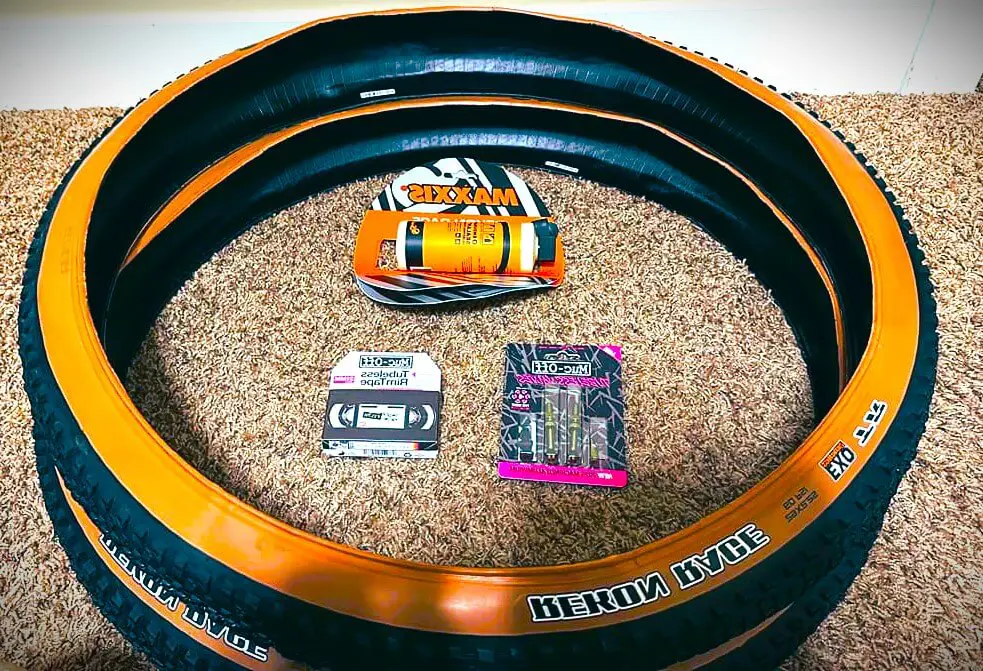
- Inflating the Tires
You can inflate your tires if you have a bike pump. First, remove the plastic covering of the tire’s valve and unscrew the nut at the top of the valve. At this point, you ought to be able to hear some air coming out.
Then fit your bike pump into the valve and inflate the tires to their fullest safe capacity. The keyword here is safe, for there is such a thing as excessive pumping. Typically, road bikes have higher psi, with a range of 80-130 psi. Mountain bikes have lower psi, in between 25 and 50 psi. Be sure to check the product description to know the correct psi threshold.
- Assembling the Seatpost
First, you need to loosen the clamp that is on the Seatpost. After loosening it, fit the rails of the seat inside the clamps. The goal is to ensure the clamps are attached to the point of the saddle with straight rails.
Secondly, you need to attach the clamp of the Seatpost to the frame. Again you might need to loosen the bolt first. You also should use grease here. But here’s a catch.
If you are using carbon Max4out mountain bikes, then you shouldn’t use grease. There is a special type of lubricant for carbon frames and carbon Seatposts: the carbon fiber assembly gel.
If you have a steel or an aluminum Max4out mountain bike, though, then grease will do fine. And if the Seatpost is made of carbon and the frame is made of steel or aluminum, no grease is required. Here’s a short summary for clarification.
If steel/aluminium seatpost + steel/aluminium frame, then use grease.
If carbon Seatpost + carbon frame, then use carbon fiber assembly gel.
If carbon Seatpost + steel/aluminum frame, then do not use any lubricant.
After lubricating, fit the Seatpost into the frame by tightening as much as necessary.
- Assembling the Handlebars
This step is the easiest. Simply slide both handlebars evenly through the stem. Then tighten the bolts. That’s it. But this simple assembly can go wrong if you don’t tighten them enough or if you don’t attach the two handlebars at the same angle.
You may not actually need to do this step as many Max4out mountain bikes come 85% preassembled, and don’t require you to assemble the handlebars.
Frequently Asked Questions Of Max4out Mountain Bike Assembly!
Where can I find a place to do mountain bike assembly near me?
Do you mean doing your own mountain bike assembly? Why you can do it at your place or outside it. We recommend using a bike stand which will make your bike assembly so much easier. You can also find doing bike maintenance quite convenient if you have a bike stand. If not, then rest your bike on a grassy or soft surface like a mattress where it will not take damage or be scratched.
But we assume you mean where you can find a bike shop near you to have your mountain bike assembled by a professional as opposed to doing it yourself. The easy answer is to take it to your local bike shop.
Any shop will do; you don’t need an expensive or branded bike shop for your mountain bike assembly. Go to the nearest bike shop around you.
Is it worth learning to do my own bike assembly?
It depends on you. If you don’t mind going to the local bike shop and having them do it, that’s fine. And it won’t be expensive either.
However, it pays to learn to know your bike’s mechanics a lot, especially for bike maintenance. If you know the nuts and bolts (pun intended) of your bike, it will be much, much easier to notice any problematic signs and do some minor damage control yourself. What’s more, Max4out mountain bike assembly is a breeze, as we have discussed.
What tools do I need to assemble a Max4out mountain bike?
You will typically need a set of Allen wrenches, a pedal wrench or 15mm wrench, a screwdriver, and possibly a torque wrench. Max4out bikes may come with their own assembly tools, so check the package.
Do I need any special skills to assemble the bike?
Basic mechanical skills and an understanding of bike components are helpful, but even beginners can assemble a Max4out mountain bike with patience and following the instructions.
Are there assembly instructions included in the package?
Max4out mountain bikes typically come with assembly instructions. Follow these carefully, as they are specific to your model.
How long does it take to assemble a Max4out mountain bike?
Assembly time can vary depending on your experience and the complexity of the bike. On average, it can take anywhere from 1 to 3 hours.
Do I need to inflate the tires before riding?
Yes, you should inflate the tires before riding. Check the recommended tire pressure, which is usually indicated on the sidewall of the tire, and use a bike pump to reach the correct pressure.
What should I check after assembling the bike?
After assembly, thoroughly check the bike for loose bolts or parts that may not be correctly installed. Pay special attention to the brakes, gears, and wheel alignment.
Can I adjust the suspension on a Max4out mountain bike?
Yes, most Max4out mountain bikes come with adjustable suspension forks. Refer to the owner’s manual for instructions on how to adjust the suspension to your liking.
How do I install the pedals?
Most pedals have markings indicating which one goes on the right (R) and left (L) side. Use a pedal wrench or a 15mm wrench to tighten them securely, ensuring they thread in the correct direction (right pedal clockwise, left pedal counterclockwise).
What should I do if I encounter any issues during assembly?
If you encounter difficulties or have questions during assembly, it’s a good idea to consult the Max4out customer support or refer to their website for additional resources.
Is professional assembly recommended?
If you’re unsure about your assembly skills or want to ensure your bike is correctly put together, you can opt for professional assembly at a local bike shop. This may also be necessary to maintain the warranty.
What are the mountain bike parts?
Various essential components, each contributing to their durability and ability to traverse difficult terrain, make up mountain cycles.
The frame, which serves as bedrock, is central to the structure. Rims, tires, and axles affix the wheels to the frame. A combination of front and rear dampers may be incorporated into the suspension system to mitigate the effects of rough terrain. Critical to propulsion, the powertrain consists of the gears, chains, pedals, and cranks.
Disc brakes and other braking components guarantee effective stopping force. Additional critical components encompass the saddle for seating, the handlebars for steering, and an assortment of gears and accessories that may be personalized according to the rider’s preferences and the particularities of the terrain.
A Final Word
As you can see, Max4out mountain bike assembly is quite an easy job and requires no complex engineering skills. Indeed, 85% of the bike’s components are already assembled prior to delivery.
However, you are welcome to learn how to serve other bike parts such as the derailleur and the chainring for bike maintenance. But this is irrelevant for instructions on assembling a bike bought online, especially when it comes to Max4out mountain bike assembly.

Steven is a professional cyclist and his passion is cycling. He has been cycling for the last 6 years and he loves using bikes while outing as well. Based on his experiences with the different types of bikes; he is sharing his opinions about various bikes so that a beginner can start right away. Find him on Twitter @thecyclistguy Happy Biking.


3 responses to “Max4out Mountain Bike Assembly: Complete A to Z Guide”
[…] part of a bike if you buy it online. Good brands do about 85% of the job for you. For example, Max4out bike assembly only needs you to do 15% of the […]
[…] and front wheel, and inflate the wheels. Done! We still recommend you check out our article on Max4out mountain bike assembly from our […]
[…] And if you are worried about manually doing even that much, no worries. You don’t even need to take the bike to a bike shop, for there is a simple tutorial video on how to assemble a Savadeck carbon road bike. For your reference, here is a step-by-step guide on how to assemble a Max4Out mountain bike. […]