To replace a bike chain at home, use a chain tool to remove the old chain. Then, install the new chain by connecting the links.
Replacing a bike chain at home is a straightforward process that can save time and money. Regular maintenance keeps your bike running smoothly and extends its lifespan. A worn-out chain can lead to inefficient pedaling and damage other components.
Understanding the steps to replace a bike chain ensures you can tackle this task with confidence.
This guide will walk you through the necessary tools and procedures. Follow these easy instructions to keep your bike in top condition. Whether you’re a seasoned cyclist or a beginner, replacing your bike chain at home is a valuable skill.

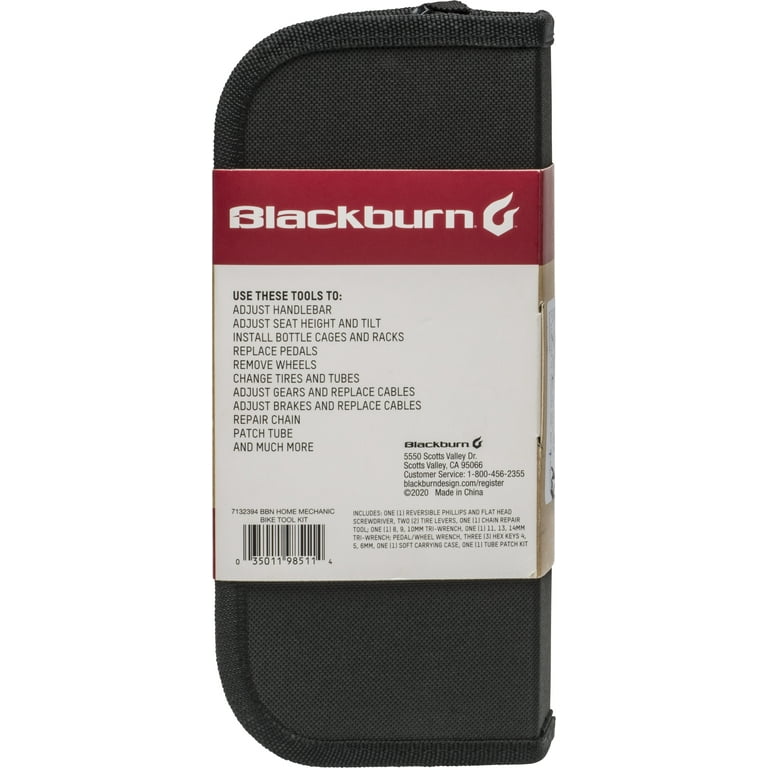
Credit: www.walmart.com
Introduction To Bike Chain Maintenance
A bike chain is a key part of your bike. It helps move the bike forward. A worn-out chain can cause damage. It can affect other bike parts. Replacing the chain often keeps your bike in good shape. It ensures a smooth ride. It also extends the life of your bike.
Check for rust on your bike chain. Look for stretched or loose links. Listen for loud sounds while riding. Check if the chain skips or slips. Notice if the bike feels rough. Watch for chain breaks or cracks.
Tools And Materials Needed
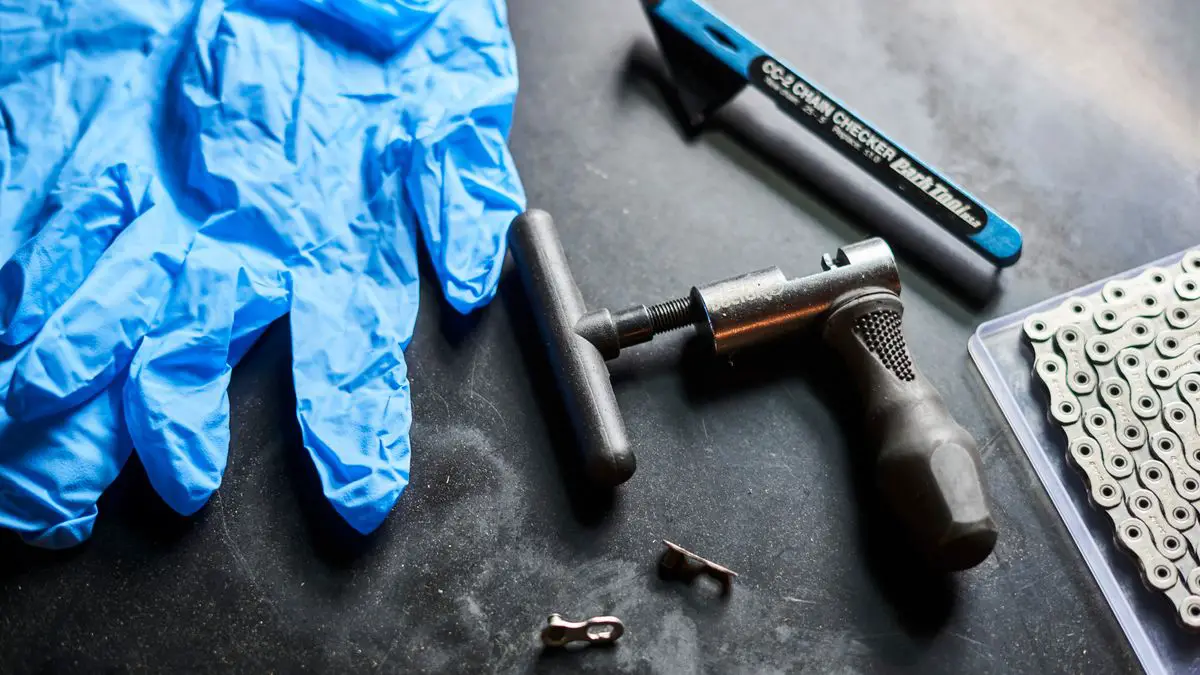
Gather essential tools: a chain breaker, a new bike chain, chain lube, and a pair of gloves. Ensure you have a clean workspace.
Chain Tool Or Master Link Pliers
A chain tool is needed to push out chain pins. Master link pliers can open and close master links. Both tools are essential for chain removal. Either one will work for most bikes.
New Bike Chain Selection
Choose a chain that matches your bike gears. Chains come in different speeds. Check your bike’s manual for the correct speed. Ensure the new chain is compatible with your bike.
Additional Useful Tools
- Gloves to protect your hands
- Rag for cleaning the bike
- Lubricant to grease the new chain
- Chain checker to measure wear
Preparation Steps
Use a bike stand or lean the bike against a wall. Ensure the bike is stable. The bike should not move during the process.
Clear the area where you will work. Remove any dirt or debris. A clean workspace makes the task easier.
Look at the current chain for any damage. Check for rust or broken links. A damaged chain will need replacement.
Removing The Old Chain
Start by using a chain tool to break the old chain at the master link. Carefully remove the chain from the bike, ensuring you note its routing through the derailleurs.
Locating The Master Link
The master link is a special link. It connects the chain together. Find this link first. It looks different from other links. It may have a clip or a special pin. Use your hands to feel for it. The link should move more easily.
Using The Chain Tool
A chain tool helps remove the chain. Place the chain in the tool. Turn the handle to push the pin out. Be careful not to lose the pin. The chain will come apart. Remove it from the bike.
Handling Stiff Links
Stiff links can be a problem. Move the chain back and forth. This helps loosen the stiff links. Oil can also help. Apply a few drops of oil. Move the chain again to spread the oil. The chain should move smoothly now.
Measuring The New Chain
Lay the new chain on a flat surface. Count the links in your old chain. Match the new chain to this length. This ensures a proper fit.
Place the old chain beside the new one. Align the starting links. Compare the total number of links. Cut the new chain if it is longer. Use a chain tool for cutting.
Different bikes have different gear setups. Check your bike’s gear system. Add or remove links for proper tension. Make sure the chain moves smoothly.
Installing The New Chain
Lay the new chain flat. Find the end of the chain. Feed this end through the rear derailleur. Make sure it goes over the jockey wheels. Check that it moves smoothly. Pull the chain towards the front derailleur. Guide the chain through the front derailleur. Ensure the chain is not twisted.
Align the chain links. Insert a master link or pin. Use a chain tool to push the pin in. Ensure the links connect tightly. Check that the chain moves smoothly. If it sticks, recheck the connection. Adjust the link if necessary. Make sure the chain is secure.
Hold the chain at the bottom. Pull it gently. There should be slight tension. Rotate the pedals backward. Watch the chain. It should move smoothly. Adjust the tension if needed. Use the derailleur to adjust the tension. Make sure the chain is not too tight or loose.
Testing And Adjusting
Spin the bike pedals. Watch the chain move over the gears. Check for smooth movement. Listen for any strange sounds. The chain should move quietly. If not, it may need more adjustment.
Shift through all gears. Ensure the chain moves easily. Adjust the derailleurs if needed. They help guide the chain. Use small turns of the adjustment screws. Test again after each adjustment.
The chain might skip gears. Check for worn-out gears. Tighten or loosen the chain tension. Ensure the chain is not too tight. A loose chain can also cause problems. Look for bent links. Replace any damaged parts.

Credit: m.youtube.com
Maintenance Tips For Longevity
Clean your bike chain often. Use a brush and some soapy water. Dry the chain with a clean cloth. Apply bike chain oil. Avoid using too much oil. Wipe off extra oil with a cloth. This keeps the chain smooth and rust-free.
Check the chain for wear and tear. Look for stiff links. Ensure the chain moves smoothly. Inspect chain length. A long chain may need replacing. Check the chain tension. A loose chain is dangerous. Tighten or replace if needed.
Some issues need expert help. If the chain keeps slipping, visit a bike shop. Strange noises mean something is wrong. Professionals can fix these issues. It is safer to get expert advice.

Credit: m.youtube.com
Frequently Asked Questions
Is It Easy To Change A Bike Chain?
Changing a bike chain is fairly easy. You need basic tools and some mechanical skills. Follow step-by-step guides for best results.
Can You Replace A Bike Chain Without A Chain Tool?
Yes, you can replace a bike chain without a chain tool. Use a hammer and a nail to push out the pin.
What Tool Do I Need To Change A Bike Chain?
To change a bike chain, you need a chain tool. This tool helps break and reconnect the chain links.
Do All Bike Chains Have A Masterlink?
Not all bike chains have a masterlink. Some chains require a chain tool for installation and removal.
How Do I Know If My Bike Chain Needs Replacing?
Check for rust, stiff links, or measure chain stretch with a ruler or chain checker tool.
Conclusion
Replacing a bike chain at home is simpler than it seems. Follow the steps and you’ll save time and money. Regular maintenance ensures a smoother ride and extends your bike’s lifespan. So, grab your tools, and give your bike the care it deserves.
Happy cycling!

Steven is a professional cyclist and his passion is cycling. He has been cycling for the last 6 years and he loves using bikes while outing as well. Based on his experiences with the different types of bikes; he is sharing his opinions about various bikes so that a beginner can start right away. Find him on Twitter @thecyclistguy Happy Biking.


Leave a Reply