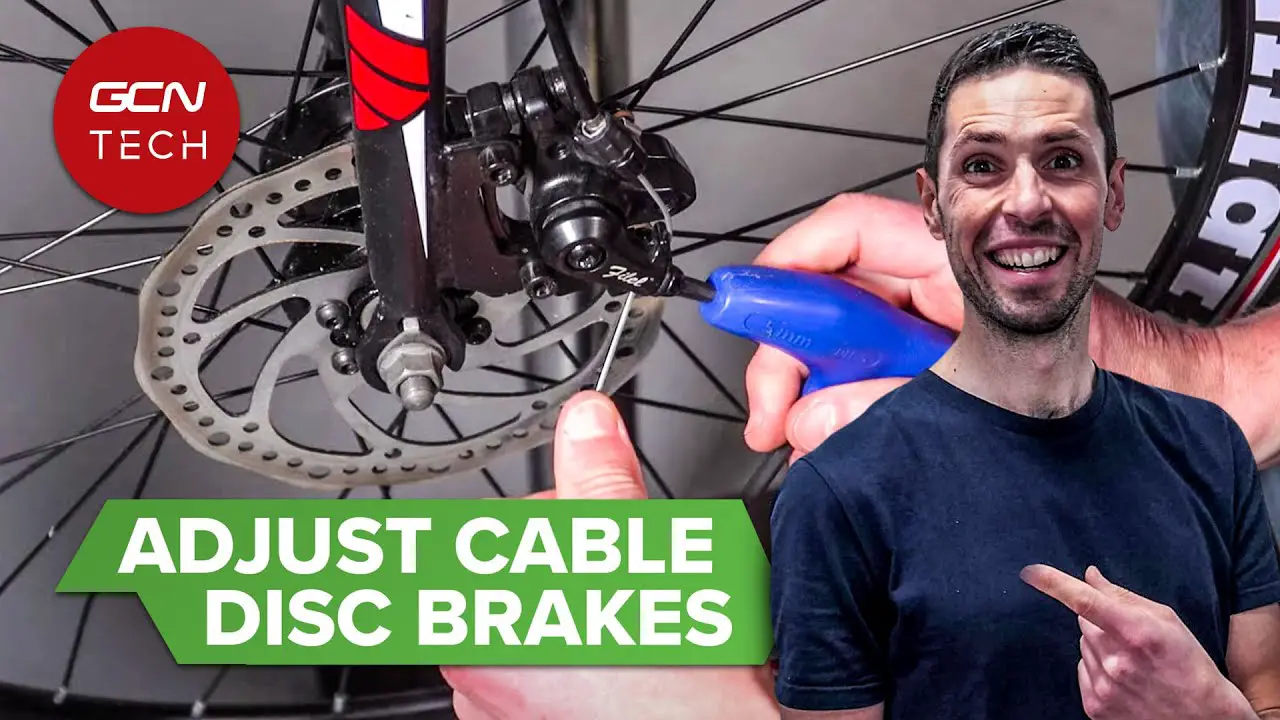
To adjust disc brakes, align the caliper with the rotor and tighten the caliper bolts. Then, fine-tune the brake pads.
Disc brakes are crucial for bike safety, providing reliable stopping power. Properly adjusted brakes ensure smooth and efficient braking. Misaligned brakes cause uneven wear on brake pads and rotors. This leads to decreased braking performance. Regular maintenance of disc brakes enhances bike longevity.
Adjusting disc brakes is a straightforward process. It involves basic tools like an Allen wrench and a bike stand. Anyone can perform this task with a little practice.
Doing it yourself saves time and money. Plus, it gives confidence in your bike’s performance. Always test your bike after adjustments to ensure safety.
Introduction To Disc Brakes
Disc brakes are vital for your bike’s safety. They help you stop quickly and safely. They consist of a rotor, caliper, and brake pads. The rotor is a metal disc attached to the wheel. The caliper holds the brake pads.
When you press the brake lever, the pads clamp onto the rotor. This action slows the bike down. Keeping these parts clean and well-maintained is crucial. Regular checks ensure your brakes work effectively.
There are two main types of disc brakes: hydraulic and mechanical. Hydraulic brakes use fluid to transfer force. Mechanical brakes use cables. Both types need regular maintenance. Check the brake pads for wear.
Replace them if they are thin. Keep the rotor clean and free from oil. Tighten any loose bolts. A well-maintained brake system improves your riding experience.
Good disc brakes make your ride safer. They offer better control, especially in wet conditions. They last longer and provide consistent stopping power.
Smooth brakes prevent sudden jerks. This reduces the risk of falls. They also protect your bike’s wheels from damage. Regular maintenance keeps them in top shape. Enjoy a safer and smoother ride with well-adjusted brakes.
Signs Of Disc Brake Issues
Disc brakes may squeak or make a grinding noise. The bike might feel less responsive when stopping. Another sign is a spongy brake lever. This means the brakes need adjustment. Also, the brake pads may wear out unevenly. This can cause vibrations when braking.
Immediate action is needed if brakes fail to stop the bike properly. Regularly check for wear and tear on brake pads. Address any unusual noises right away.
Inspect the brake system every few months. Fix any issues before they get worse. A quick response can prevent accidents.
Safety First: Preparing For Adjustments
Ensuring safety starts with proper disc brake adjustments. Clean the brake rotors and pads before making adjustments. Use a hex wrench to fine-tune the calipers for optimal performance.
Tools Required For The Job
Gather all needed tools before starting. You will need a hex wrench set. Also, have a screwdriver handy. A bike stand can make the job easier. Gloves will protect your hands. Rags will help keep things clean. Oil can be useful for stuck parts. Light is important to see small parts.
Safety Measures Before Starting
Wear gloves to protect your hands. Check your workspace for any hazards. Ensure your bike is stable on a stand. Keep kids and pets away from the area. Read the bike manual for specific instructions.
Keep tools organized to avoid accidents. Work in a well-lit area to see clearly. Test brakes before riding after adjustments. Never rush; take your time for safety.

Credit: www.wikihow.com
Basic Adjustments For Beginners
Centering the caliper is important. Loosen the bolts holding the caliper. Squeeze the brake lever. This centers the caliper on the rotor. Keep the lever squeezed.
Tighten the bolts again. Check if the rotor spins freely. The rotor should not rub against the pads. Repeat if necessary.
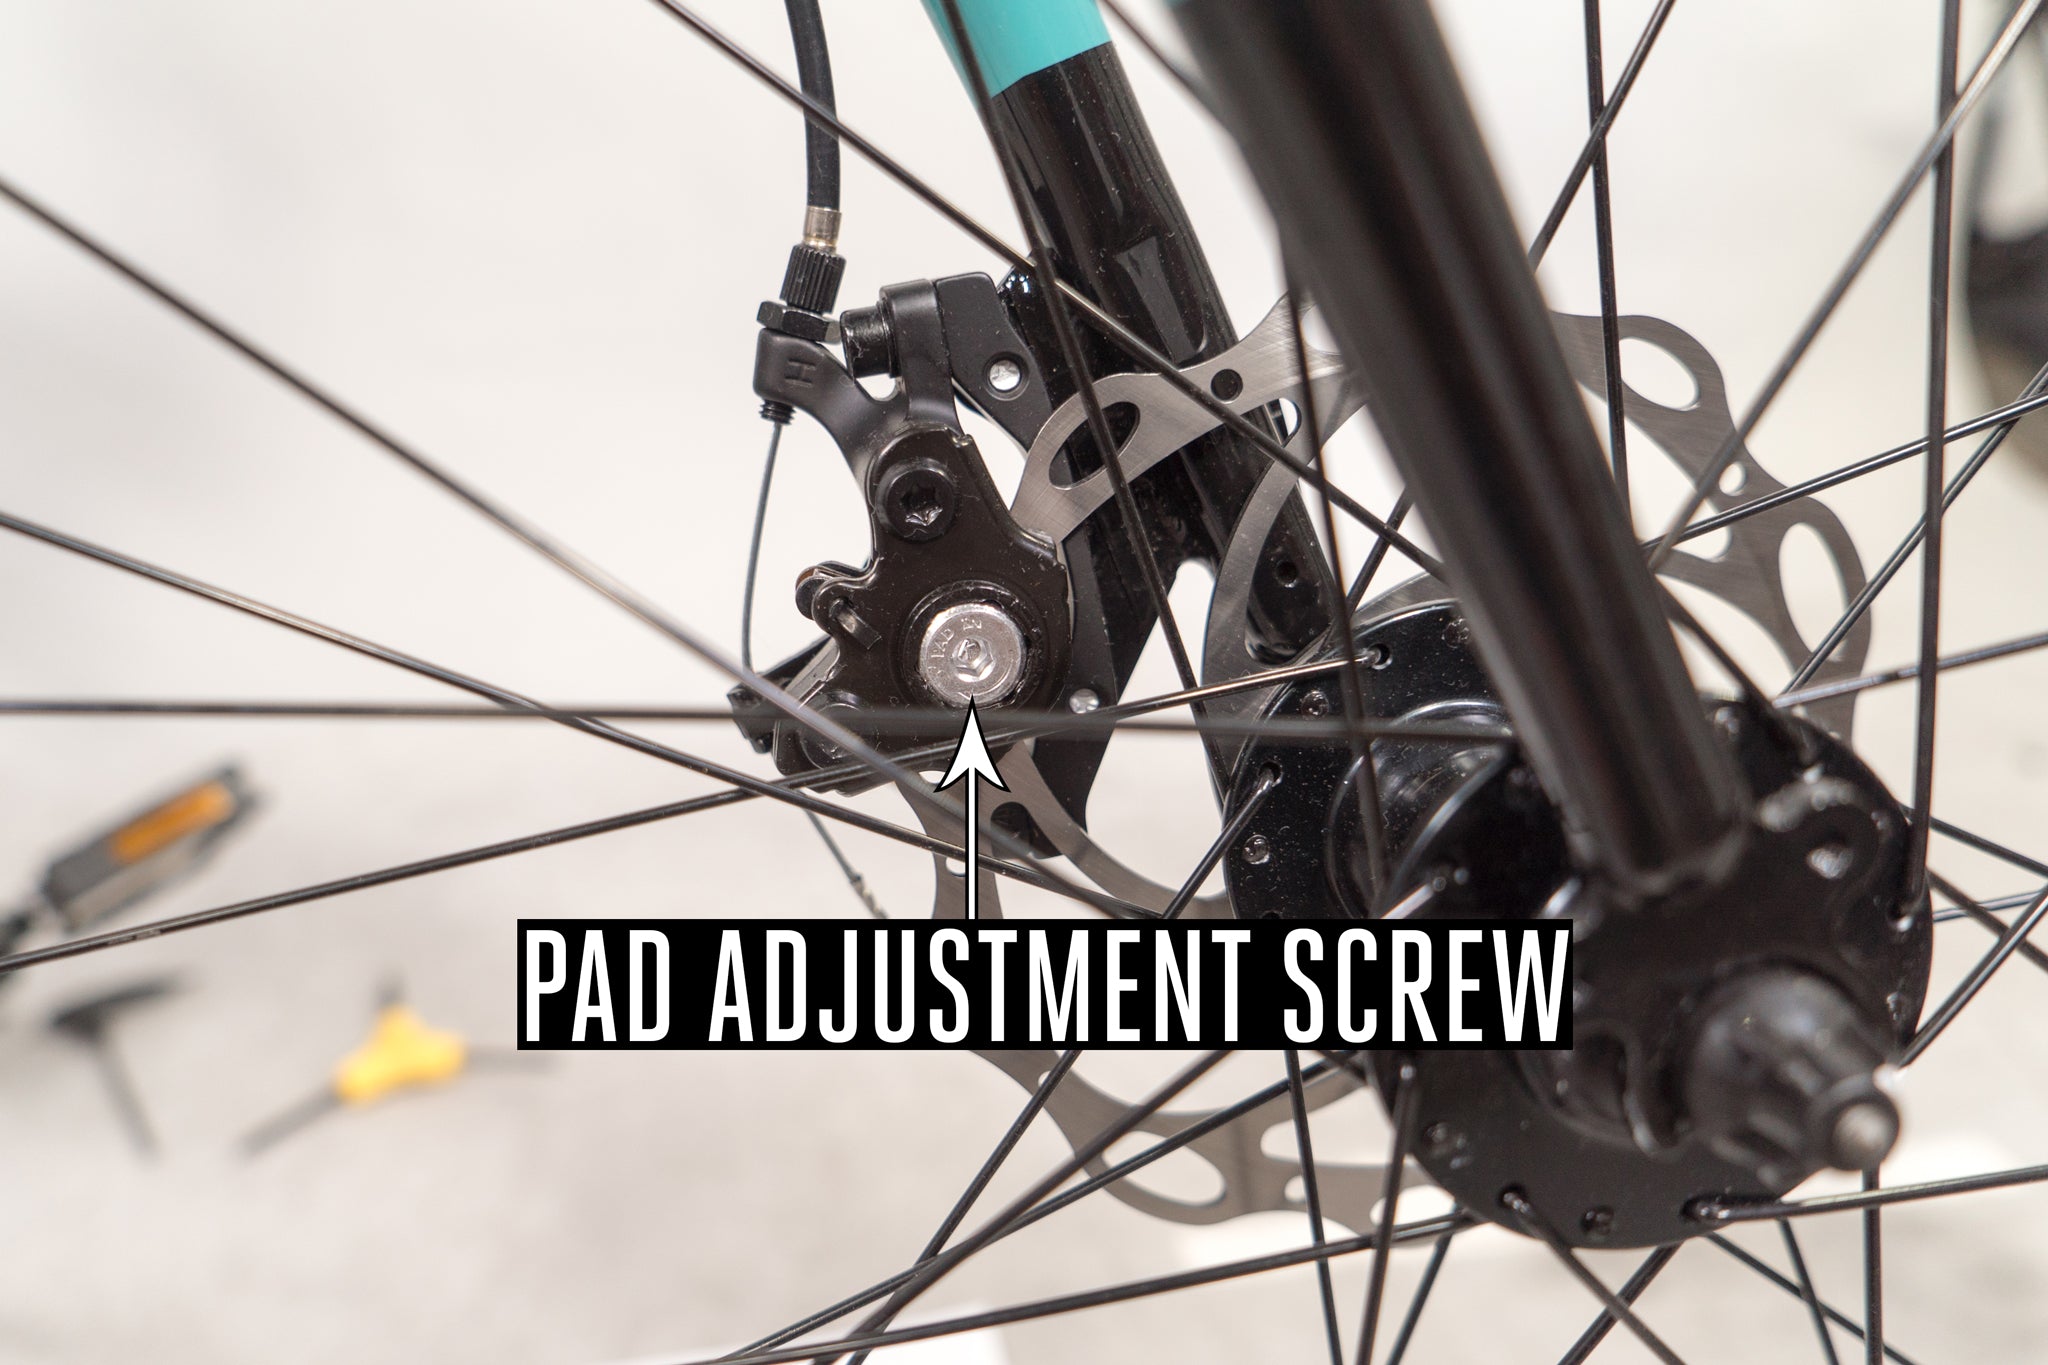
Adjusting brake pads ensures good braking. Loosen the pad bolts. Move the pads closer to the rotor. Ensure they do not touch the rotor. Tighten the bolts. Squeeze the brake lever. Check the pad alignment. Adjust if necessary.
Advanced Tuning Techniques
Brake rub can be annoying. First, check if the wheel is aligned. If not, adjust it. Next, loosen the brake caliper bolts. Spin the wheel and squeeze the brake lever.
Then, tighten the bolts while holding the brake lever. This centers the caliper. Ensure the rotor is not bent. If it is, gently straighten it using a rotor truing tool.
Adjusting brake lever reach can make a big difference. Locate the reach adjustment screw on the lever. Turn it clockwise to bring the lever closer.
Turn it counterclockwise to move it away. Test the lever position by squeezing it. Adjust until it feels comfortable. Proper reach ensures better control and comfort.
Troubleshooting Common Disc Brake Issues
Squeaky brakes can be very annoying. First, check if the brake pads are worn out. If they are, replace them with new ones. Sometimes, dirt or debris can cause the noise.
Clean the brake pads and rotors with alcohol. Make sure all parts are clean and dry. Another tip is to apply a thin layer of brake grease to the back of the pads. This can help reduce the noise.
Brake drag means the brakes do not release fully. This can cause the bike to slow down. First, check if the brake caliper is aligned properly. Loosen the bolts and adjust the caliper so it is centered. Tighten the bolts again.
Next, check the brake pads. They should not touch the rotor when you are not braking. Adjust the brake pads if needed. Lastly, check the brake cable tension. It should be tight but not too tight. Adjust the cable as needed.
Maintenance Tips For Long-term Performance
Keep your disc brakes clean for best performance. Use a clean cloth to wipe the rotors. Make sure to check the brake pads regularly. Look for wear and tear. Replace them if needed.
Clean and inspect every two weeks. This helps keep your brakes in top shape. Dirt and grime can cause braking problems. Regular cleaning extends the life of your brakes.
Replace brake pads when they are worn out. Check the rotors for deep grooves. Replace the rotors if they are damaged. Inspect the brake cables often. Replace frayed or stretched cables.
Always use quality parts for replacements. Quality parts ensure safety and performance. Keeping your brakes in good condition is important. It helps you ride safely.

Credit: www.purecycles.com
Diy Versus Professional Service
Disc brakes can be tricky. If they make loud noises, it might be time to call a pro. A professional can check for hidden issues. They also have special tools that might be needed. Safety is very important, so don’t take risks. If unsure, always ask for help.
Learning to adjust disc brakes saves money. It also helps you understand your bike better. Fixing small issues yourself can be fun. It also gives a great sense of achievement. Plus, you can help friends with their bikes too.

Credit: www.wikihow.com
Frequently Asked Questions
How Do You Adjust Disc Brake Rubbing?
To adjust disc brake rubbing, loosen the caliper bolts, align the caliper, and tighten the bolts. Spin the wheel to check alignment.
What Method Is Used To Adjust Disc Brakes?
To adjust disc brakes, use the caliper’s adjustment mechanism. Turn the adjustment screw to set the correct pad distance.
How Do You Tighten Loose Disc Brakes?
To tighten loose disc brakes, adjust the caliper bolts. Turn the barrel adjuster clockwise. Ensure the rotor is straight.
How Do You Align Disc Brakes?
To align disc brakes, loosen the caliper bolts. Squeeze the brake lever, then retighten the bolts. Ensure the rotor spins freely.
How Do You Adjust Disc Brakes?
Turn the adjustment knob on the brake lever until the brake pads lightly touch the rotor.
Conclusion
Mastering disc brake adjustments ensures a safer and smoother ride. Follow these steps for optimal performance and longevity.
Regular maintenance prevents issues and enhances your biking experience. Always refer to your bike’s manual for specifics. Happy cycling!

Steven is a professional cyclist and his passion is cycling. He has been cycling for the last 6 years and he loves using bikes while outing as well. Based on his experiences with the different types of bikes; he is sharing his opinions about various bikes so that a beginner can start right away. Find him on Twitter @thecyclistguy Happy Biking.


Leave a Reply