Paint MTB Frame: Transform Your Ride with Color!

As an affiliate, we may earn from qualifying purchases. We get commissions for purchases made through links on this website. You can read more on our Affiliate Disclaimer here.
To paint an MTB frame, strip the frame and apply primer before painting. Choosing the right paint type ensures durability and aesthetics.
Painting a mountain bike (MTB) frame allows riders to customize their bike’s appearance or restore its original look. The process involves removing the existing paint and ensuring the surface is clean and smooth for the application of new paint. Using high-quality primer sets the foundation for a lasting finish.
While selecting paint, it’s essential to opt for one that can withstand the challenges of off-road riding, including resistance to chipping and scratching. Methodical application, along with adequate drying time, will result in a professional-looking, durable finish.
The project requires patience and attention to detail but can be immensely rewarding as it breathes new life into your ride. Whether aiming for a subtle color change or an elaborate custom design, painting your MTB frame is an excellent way to personalize your bike.
Introduction To Mtb Frame Painting
Revitalizing your mountain bike begins with a splash of personality and protection. The journey of transforming your ride reflects not just style but also performance enhancements. Painting your MTB frame brings out vibrant life and personal flair to the trails.
Why Color Matters For Your Ride
Choosing the right color for your mountain bike frame does more than showcase your style. It influences visibility on the trails and reflects upon your riding persona. A brightly colored frame ensures you stand out against the backdrop of nature.
- Increased Visibility: Bright colors catch attention, making you more visible to other riders and hikers.
- Personal Identification: A unique color scheme can become your signature on the trails.
- Ride Mood Enhancement: Colors often affect our mood; choose one that uplifts your spirit.
Benefits Of A Fresh Paint Job
Rejuvenating your MTB with a new paint job not only appeals to the eye but adds significant value. From scratch protection to an enriched riding experience, the perks extend beyond aesthetics.
| Benefit | Description |
|---|---|
| Scratch Protection | A fresh layer of paint acts as a shield to reduce frame damage. |
| Corrosion Resistance | New paint can prevent rust and prolong the life of your frame. |
| Value Increase | A well-maintained, freshly painted frame tends to retain its value better. |
| Individuality | Stand out with a color scheme that reflects your unique taste and personality. |
Choosing The Right Paint For Your Mtb Frame
Choosing the right paint for your MTB frame can transform your ride from bland to brilliant. It’s not only about picking a vibrant color. The paint must withstand tough trails and varied weather. It’s about durability and aesthetics.
Types Of Paint Suitable For Mtb Frames
Selecting the appropriate paint is crucial for a lasting finish. Not all paint bonds well with bike materials like steel, aluminum, or carbon fiber. Here’s what works best:
- Epoxy Paints: Known for their durability and resistance to chipping.
- Urethane Paints: They offer a hard-wearing finish and UV protection.
- Acrylic Paints: Easy to apply and available in a variety of colors.
- Powder Coating: An eco-friendly option that’s also tough against scratches.
Picking Colors And Finishes: Matte, Gloss, And More
The color and finish of your paint can define your bike’s personality. Reflect on these choices:
| Finish Type | Visual Appeal | Durability |
|---|---|---|
| Matte | Non-reflective, modern aesthetic | Resists fingerprints, shows scratches less |
| Gloss | Shiny, classic look | Highly durable, easy to clean |
| Satin | Balance between matte and gloss | Good with wear and tear, easy maintenance |
Consider visibility on the trails, as bright colors improve safety. Also, darker colors may show less dirt, a bonus for riders often on muddy paths.
Preparing Your Mountain Bike For Painting
Painting your mountain bike frame can revitalize its appearance or express your unique style. Before showcasing a new color scheme, prep work is essential. Preparing your mountain bike for painting is a meticulous process that lays the groundwork for a flawless finish. Let’s break down the essential steps to ensure your bike comes out looking its best.
Stripping Down The Bike
- Remove all components: Take off the wheels, gears, brakes, and any attachments.
- Organize and store small parts: Keep screws and bolts in labeled bags.
- Cover areas you don’t want to paint with painter’s tape.
Sanding And Priming The Surface
- Start with coarse-grit sandpaper to remove the old paint.
- Switch to finer-grit sandpaper for a smooth surface.
- Wipe the frame clean of any dust or debris.
- Apply a quality primer evenly and let it dry.
Safety First: Protecting Yourself And Your Environment
Welcome to the exciting world of customizing your mountain bike frame! Before diving into the art of painting your MTB frame, it’s essential to prioritize safety for both yourself and your surroundings. This ensures a smooth and hazard-free experience from start to finish.
Proper Ventilation And Protective Gear
Working in a well-ventilated area is crucial when painting your MTB frame. Paint fumes can be harmful if inhaled, so make sure to open all windows and use fans to circulate the air. If painting indoors is your only option, wearing a respirator mask is a must to filter out fumes.
In addition to respiratory protection, don’t forget to suit up in the appropriate gear:
- Goggles to protect your eyes from paint splashes
- Gloves to keep your hands free of chemicals
- Long sleeves and pants to cover your skin
Containing The Mess: Setup And Cleanup
Paint has a knack for ending up in places you wouldn’t expect. Setting up a contained space to paint your frame will save you hours of cleaning later. Use large sheets of plastic or a drop cloth to cover your workspace. Tape off areas you don’t want to paint with precision.
When you’re finished painting, cleaning up responsibly is key. Properly dispose of any hazardous materials. Take care of reusable items like brushes and trays:
| Action | Item |
|---|---|
| Clean with solvent | Brushes |
| Wipe and store | Trays |
Pack up any remaining paint and store it in a cool, dry place out of reach from children and pets.
Applying The Base Coat
Ready to give your MTB frame a fresh new look? Applying the base coat is a critical step. A good base coat ensures your final color pops and remains durable. Let’s make sure you get a spotless application with our following tips.
Techniques For An Even Coat
- Start with a clean, dry, and sanded frame.
- Hang your frame to paint from all angles.
- Use sweeping motions to prevent drips.
- Keep the spray can about 8-10 inches away.
- Apply thin, even layers over the entire frame.
- Allow each layer to dry before the next one.
- Check for missed spots and touch-up.
Drying Times And Temperature Considerations
| Temperature | Drying Time |
|---|---|
| Cold (<50°F) | Longer (24-48 hours) |
| Ideal (70-80°F) | Optimal (1-2 hours) |
| Hot (>90°F) | Quicker (30-60 minutes) |
Pick the right temperature for best results. If the paint feels tacky, wait longer. Rushing can cause imperfections. Always follow the instructions on your paint for the best outcome.

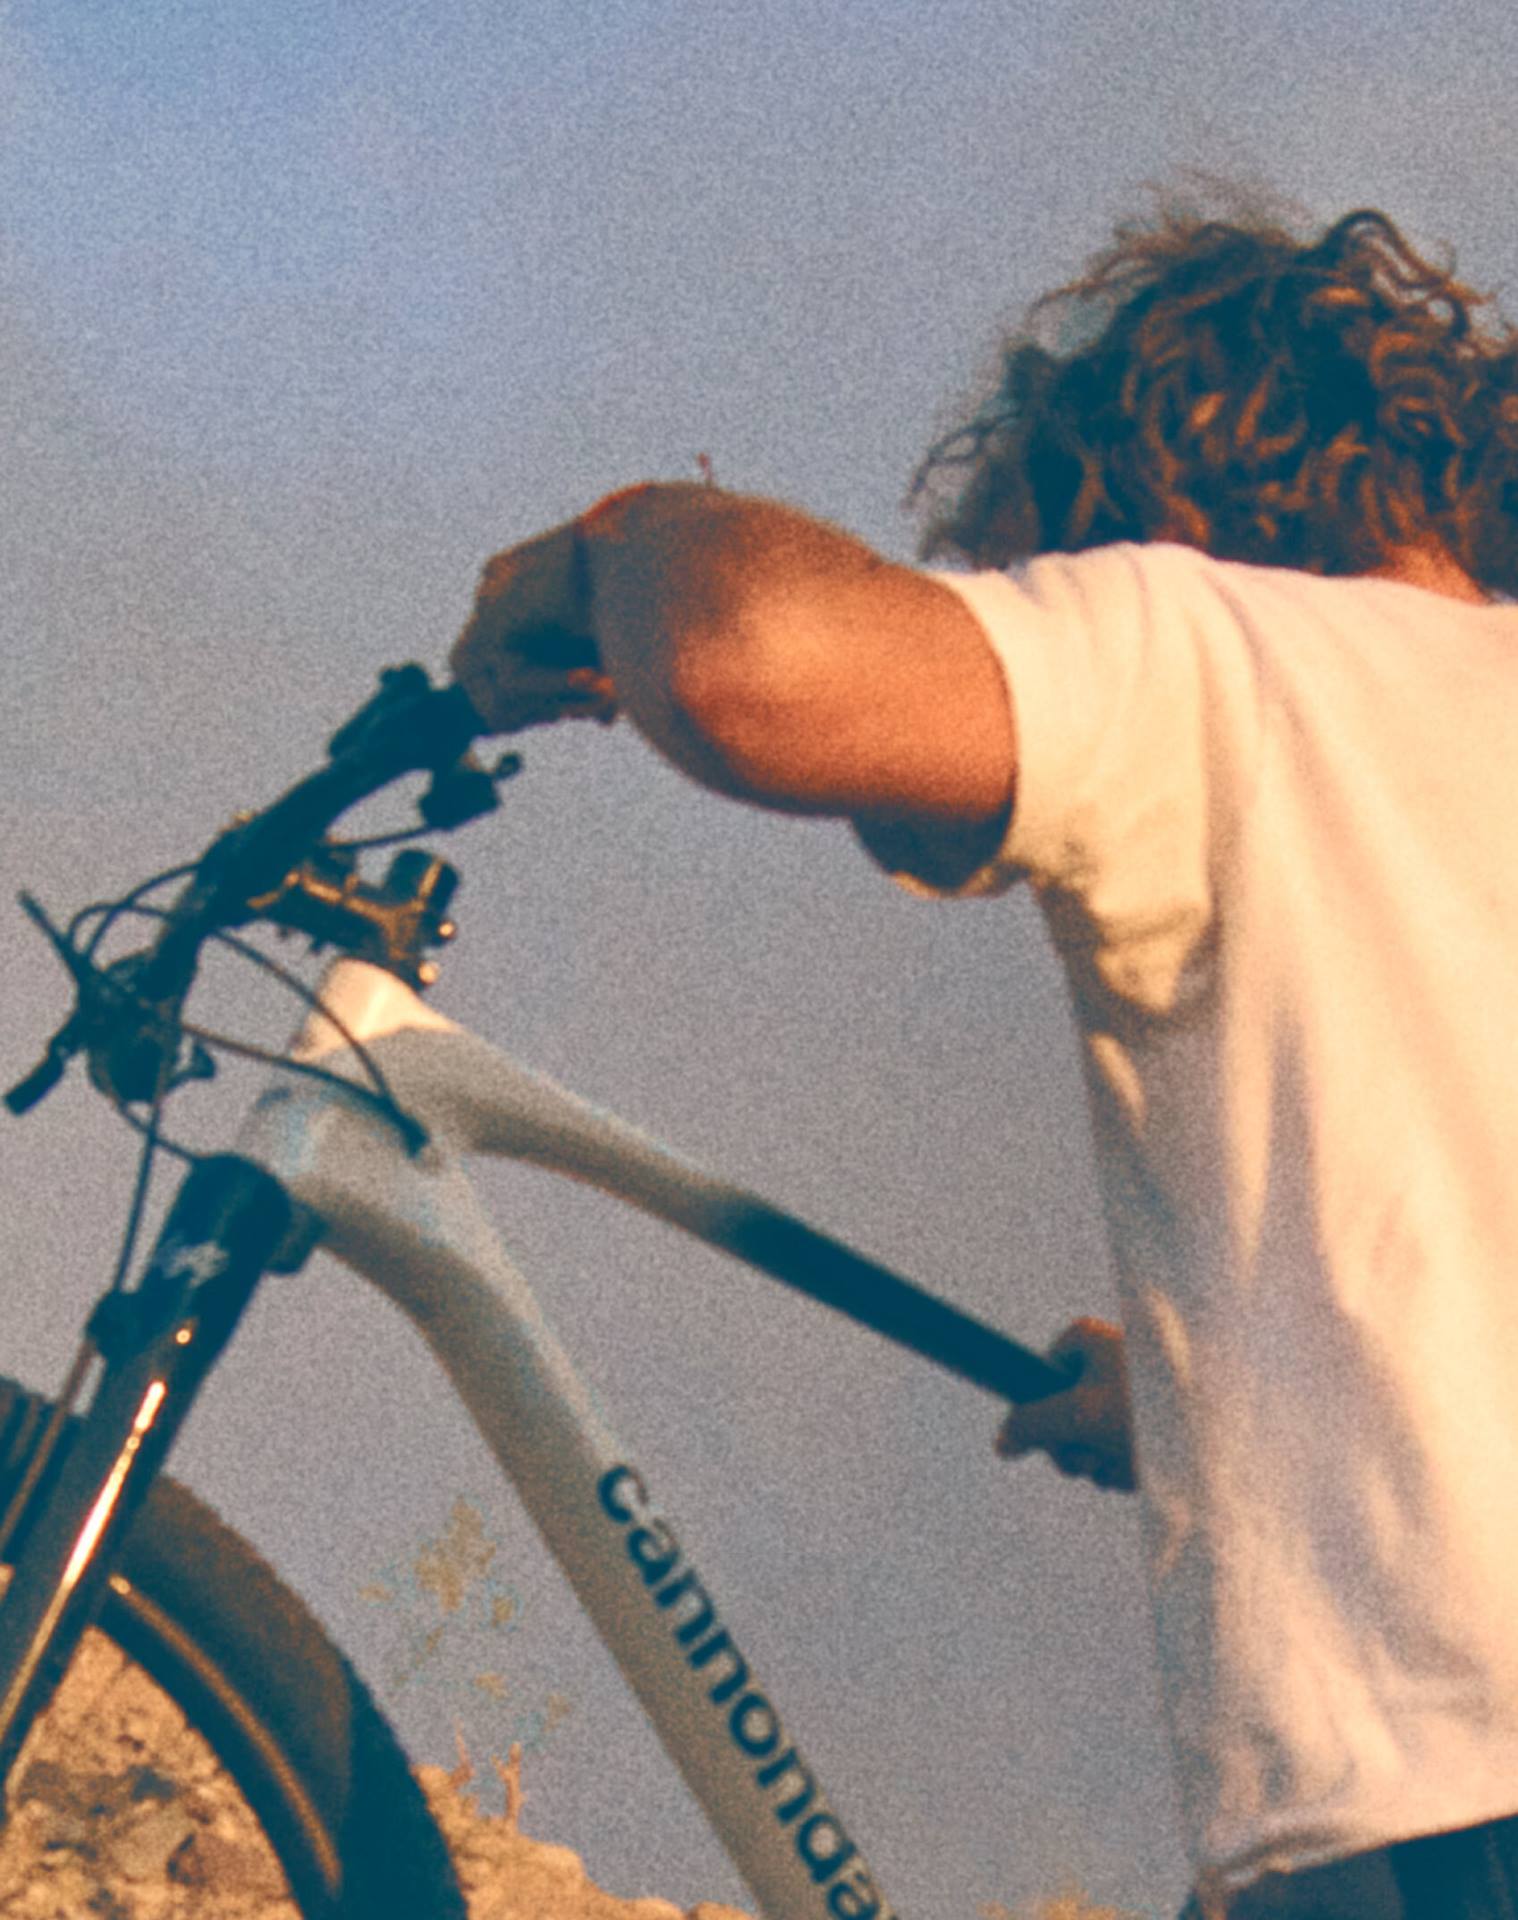
Credit: www.cannondale.com
Adding Designs And Details
Transforming your mountain bike frame into a rolling piece of art starts with adding designs and details. It’s your chance to stand out on the trail. Intricate patterns, bold graphics, and personal touches can make your MTB frame unique. Let’s dive into the creative process of embellishing your bike with eye-catching designs.
Stencils And Tape: Creating Patterns And Shapes
Using stencils and tape can craft precise patterns and shapes. This method helps to achieve professional-looking results. Here’s a simple guide:
- Select your stencil design or create your own.
- Stick the stencil or tape to the frame after the base coat dries.
- Apply paint over the stencil or masked area.
- Peel away the stencil or tape to reveal your design.
This approach is perfect for geometric designs and can be used to create complex layered patterns. Remember to use painter’s tape for crisp edges.
Hand-painting Techniques For Personal Touch
For those wanting a truly original look, hand-painting is the way to go. It allows for freeform creativity and personal expression. Here’s how to add that personal touch:
- Choose brushes of various sizes for different line weights.
- Mix custom colors for a unique palette.
- Use a steady hand to paint designs freehand onto the frame.
Signature elements like initials or hand-drawn icons showcase your personality. For the best results, use a fine-tip brush for detailed work and keep a steady hand.
Sealing The Deal: Protective Finishes
Imagine your mountain bike with a fresh, vibrant paint job. But wait – there’s a crucial step left. Protective finishes keep paint looking great. No one wants chips or fades after days on the trail. Sealants and top coats lock in the color and shield against scratches. Let’s find the best options for strong, long-lasting protection.
Choosing The Right Sealant
Picking a sealant can be tricky. You want something tough that sticks well. Here’s a quick guide:
- Urethane Sealers: They are clear and strong. Good for fighting UV rays.
- Acrylic Sealers: They are popular and affordable. Acrylic is good for basic protection.
- Epoxy Sealers: They bring industrial strength. But, they can be thick and tricky to handle.
Think about where you ride. More rocks and trees? Go for urethane. If it’s just casual paths, acrylic might do.
Applying Top Coats For Durability
A top coat brings extra toughness. It’s like a shield for your bike frame. Follow these steps for the best results:
- Clean your frame – it needs to be dust and grease-free.
- Mix the top coat if needed. Some require combining ingredients.
- Use thin coats. Thick ones can run or peel later.
- Let each coat dry. This can take a few hours to overnight, depending on the type.
- Sand between coats if the instructions say so. It helps the layers stick together.
- Apply 2-3 layers for the best cover. It’s like layering armor.
Don’t rush this part. Let each layer set nicely. You’ll get a durable finish that resists the elements.
Reassembling Your Mtb Post Painting
Excited to ride your newly painted mountain bike? Before you hit the trails, reassembling is key. Let’s guide you through the process. Every bolt and cable plays a part in getting back that perfect ride feel.
Step-by-step Guide To Rebuilding
With your frame’s paint immaculate, rebuilding starts with organization. Gather your cleaned components. Lay them out.
- Start with the bottom bracket. Grease threads. Screw it in tightly.
- Set in the headset bearings. Slide the fork carefully into place.
- Attach the stem and handlebars. Align them straight. Tighten each bolt.
- Install the drivetrain. This means cranks, chain, and derailleurs.
- Place wheels. Check the brakes align with the rims or discs.
- Wrap the handlebar tape. Go evenly for a firm grip.
- Finally, fit the seat post and saddle. Adjust to your height.
Adjustments And Tuning After Painting
The last step in reassembling your MTB involves fine-tuning for optimal performance. Paint thickness might affect some fittings. Attention to detail is crucial.
- Shift through gears. Adjust cables if shifting is off.
- Check brake responsiveness. Tweak the cable tension if needed.
- Examine the wheel alignment. Make sure they spin freely.
- Ensure the handlebars turn smoothly. If there’s a hitch, loosen, adjust, retighten.
- Bounce on the bike lightly. Listen for any unusual sounds.
- Take a test ride. Start slow. Brake and shift in different gears.
Remember, a well-assembled bike makes for safer and more enjoyable rides. Use this guide to get it right!
Maintenance And Care For Your Freshly Painted Frame
Caring for your freshly painted MTB frame keeps it looking sharp and new. Just make sure the paint has fully cured. This ensures the best protection and longevity. Follow these tips to maintain the pristine appearance of your mountain bike.
Routine Cleaning And Care Tips
Regular upkeep is vital for a bright, spotless frame. Here’s how to do it right:
- Use a gentle cleaner: Choose mild soap and avoid harsh chemicals.
- Soft tools are key: A soft sponge or cloth prevents scratches.
- Rinse well: After washing, give your bike a thorough rinse.
- Air-dry gently: Wipe with a soft towel, then let the air do the rest.
- Check often: Look for dirt or grime to tackle early.
Protecting The Paint From Chips And Scratches
Avoiding paint damage extends the life of your frame.
- Cover high-impact areas with clear protective film or tape.
- Avoid leaning your bike against rough surfaces.
- Choose your paths wisely: Smooth trails can be kinder to your paint.
- Store safely: When not riding, keep your bike in a safe space.
- Touch up: Small paint tubes for your frame’s color make quick fixes easy.
Showcasing Your Revamped Ride
Transforming your mountain bike with a fresh paint job is an exciting experience. Now, it’s time to show off your MTB masterpiece to the world. Whether you’ve chosen a vibrant color scheme or a sleek, understated look, your redesigned bike deserves the spotlight. Let’s dive into how to photograph your MTB and share it with an enthusiastic community of riders and enthusiasts.
Photographing Your Mtb
Capturing your MTB’s new look is all about finding the right angles and lighting. Consider these tips for photography:
- Choose natural light for the best color representation.
- Find a scenic backdrop that complements your bike’s style.
- Use multiple angles to showcase the bike’s details.
- Try close-ups to highlight the craftsmanship of your paintwork.
Sharing Your Work On Social Media
With stunning photographs in hand, it’s time to post your MTB online. Social platforms like Instagram and Facebook are great spaces to share your bike. Use relevant hashtags such as #MTB, #mountainbiking, and #bikemakeover to reach more viewers. Engage with comments and shares to build a community around your passion.
Riding Communities
Apart from social media, numerous online forums and groups celebrate MTB culture. Share your bike’s transformation on platforms like MTBR, Pinkbike, or local Facebook riding groups. These communities can offer appreciation and feedback, and you may even inspire others to start their own MTB projects.
Frequently Asked Questions On Paint Mtb Frame
Can You Paint A Mountain Bike Frame?
Yes, you can paint a mountain bike frame. Ensure you remove all parts and clean the surface thoroughly before applying primer and paint. Allow for ample drying time between coats.
What Kind Of Paint Should I Use On A Bike Frame?
For bike frames, use acrylic or epoxy spray paints designed for durability and metal adherence. A primer is recommended for best results.
How Much Does It Cost To Get A Mountain Bike Frame Painted?
The cost to paint a mountain bike frame typically ranges from $100 to $400, depending on the complexity and paint quality.
Conclusion
Wrapping up our journey on painting MTB frames, remember, the perfect finish is a blend of preparation, patience, and creativity. Choose your paints wisely, take your time with the process, and flaunt your bike’s revamped look with pride.
Hit the trails with your personalized ride and turn heads with every pedal.
Thank you for following along – now, get painting and pedaling!

Steven is a professional cyclist and his passion is cycling. He has been cycling for the last 6 years and he loves using bikes while outing as well. Based on his experiences with the different types of bikes; he is sharing his opinions about various bikes so that a beginner can start right away. Find him on Twitter @thecyclistguy Happy Biking.


