How to Raise Handlebars on Specialized Bike? – 3 Easy Method

As an affiliate, we may earn from qualifying purchases. We get commissions for purchases made through links on this website. You can read more on our Affiliate Disclaimer here.
Specialized Bikes Components Inc. is a synonym for reliability in the bike industry. This company has been serving the market with versatile styles of bikes ranging from mountain to e-bikes.
So, you can grab the opportunity to have the best bike for riding on and off the tracks. But one prominent part of buying these bikes is sizing the bike or adjusting the handlebars.
Then, how to raise handlebars on specialized bike?
Raising handlebars depends on the type of setup of the specialized bike. Also, the headset stem pattern may require different treatments to raise or lower the height of the handlebars.
All these processes require slackening the bolts using the necessary tools and securing them again after adjusting the requirements.
Many bikers face difficulties when they don’t adjust the height of their bike handlebars.
In this post, I will discuss the variation of handlebars, their importance, and tutorials for raising handlebars on specialized bikes.
Why You Should Adjust Specialized Bike Handlebar Height
A raise of the handlebar can offer the biker multiple benefits. Individual comfort, better safety, and cheerful experience are notable among them.
I want to let you learn why you should experiment, lower, or raise the height of handlebars in this part.
Some of the possible benefits of raising the handlebar:
- Impact on child growth
Raising handlebars can accommodate the child or teenager’s growth adequately. Suppose you have bought a specialized mountain bike for a kid.
But the kid may not reach the handlebar, or it’s too small, making the kid’s posture unhealthy. Over time, the height of children grows. So, you must raise the height every few months to a year.
- Making a bike ready for a gift
Maybe you are expecting to regift a Road/Mountain bike (specialized bike) to loving children or relatives. Otherwise, you may want to recycle the bike.
For these regift and recycling purposes, it is better to raise the height of the handlebars so that the bike can be useable for additional times.
- Enhancing the visibility
It is always important to maintain better visibility when on the bike. It can lessen the chances of bike accidents.
In case you are riding with a low handlebar, you may need to hunch over the handles to ride the bike.
Some specialized bikes, like mountain bikes, have slightly lower handlebars than the seat height. Once you raise the height of the handlebar, it will give you the best control and comfort.
- Superior comfort
Raising the handlebars of a specialized bike has several health benefits and keeps you in comfort.
A professional biker is trained to be on bikes for hours, while an average person can be on it only for so long. When you hunch forward, the consistent bend of the upper body can cause those pains.
To ensure a perfect hip and neutral spine, you should sit in an upright position. To do that, increase the height of the handlebars.
- Preventing injuries
Too loose or tight, and inappropriate width of handlebars can lead to unexpected injuries. Also, you may lose track and fall because of faulty handlebar settings.
If you can set them properly, there might be fewer chances of wounds and losing the race.
How Much Should You Raise Handlebars on Your Bike?
Now that you are contemplating raising the handlebar of your bike, you should know the correct position of the handlebars.
Depending on your physique preference, and profession, the position of your handlebar can vary.
For competitive or racing road bike positions, the handlebar should be at least 8cm wide below the saddle midpoint.
For performance road positions, it should be 5-6 cm below the saddle.
Recreational road bike positions should have the handlebar level with the saddle midpoint. Cross-country MTB positions should have a grip not above the saddle, and for aggressive cross-country MTB, the saddle-to-grip drop should be 2-5 cm.
Types of Handlebars on Specialized Bikes
Before we dive into the questions like how to raise handlebars on a mountain bike or a road bike, we need to know about the handlebars fast.
The types of handlebars are essential to know before you start adjusting the height.
Different types can fulfill specific purposes. Here is an example: specialized racing bikes have a handlebar that gives you proper control while pedaling the bicycle quickly.
Generally, you can find bikes with these types of handlebars:
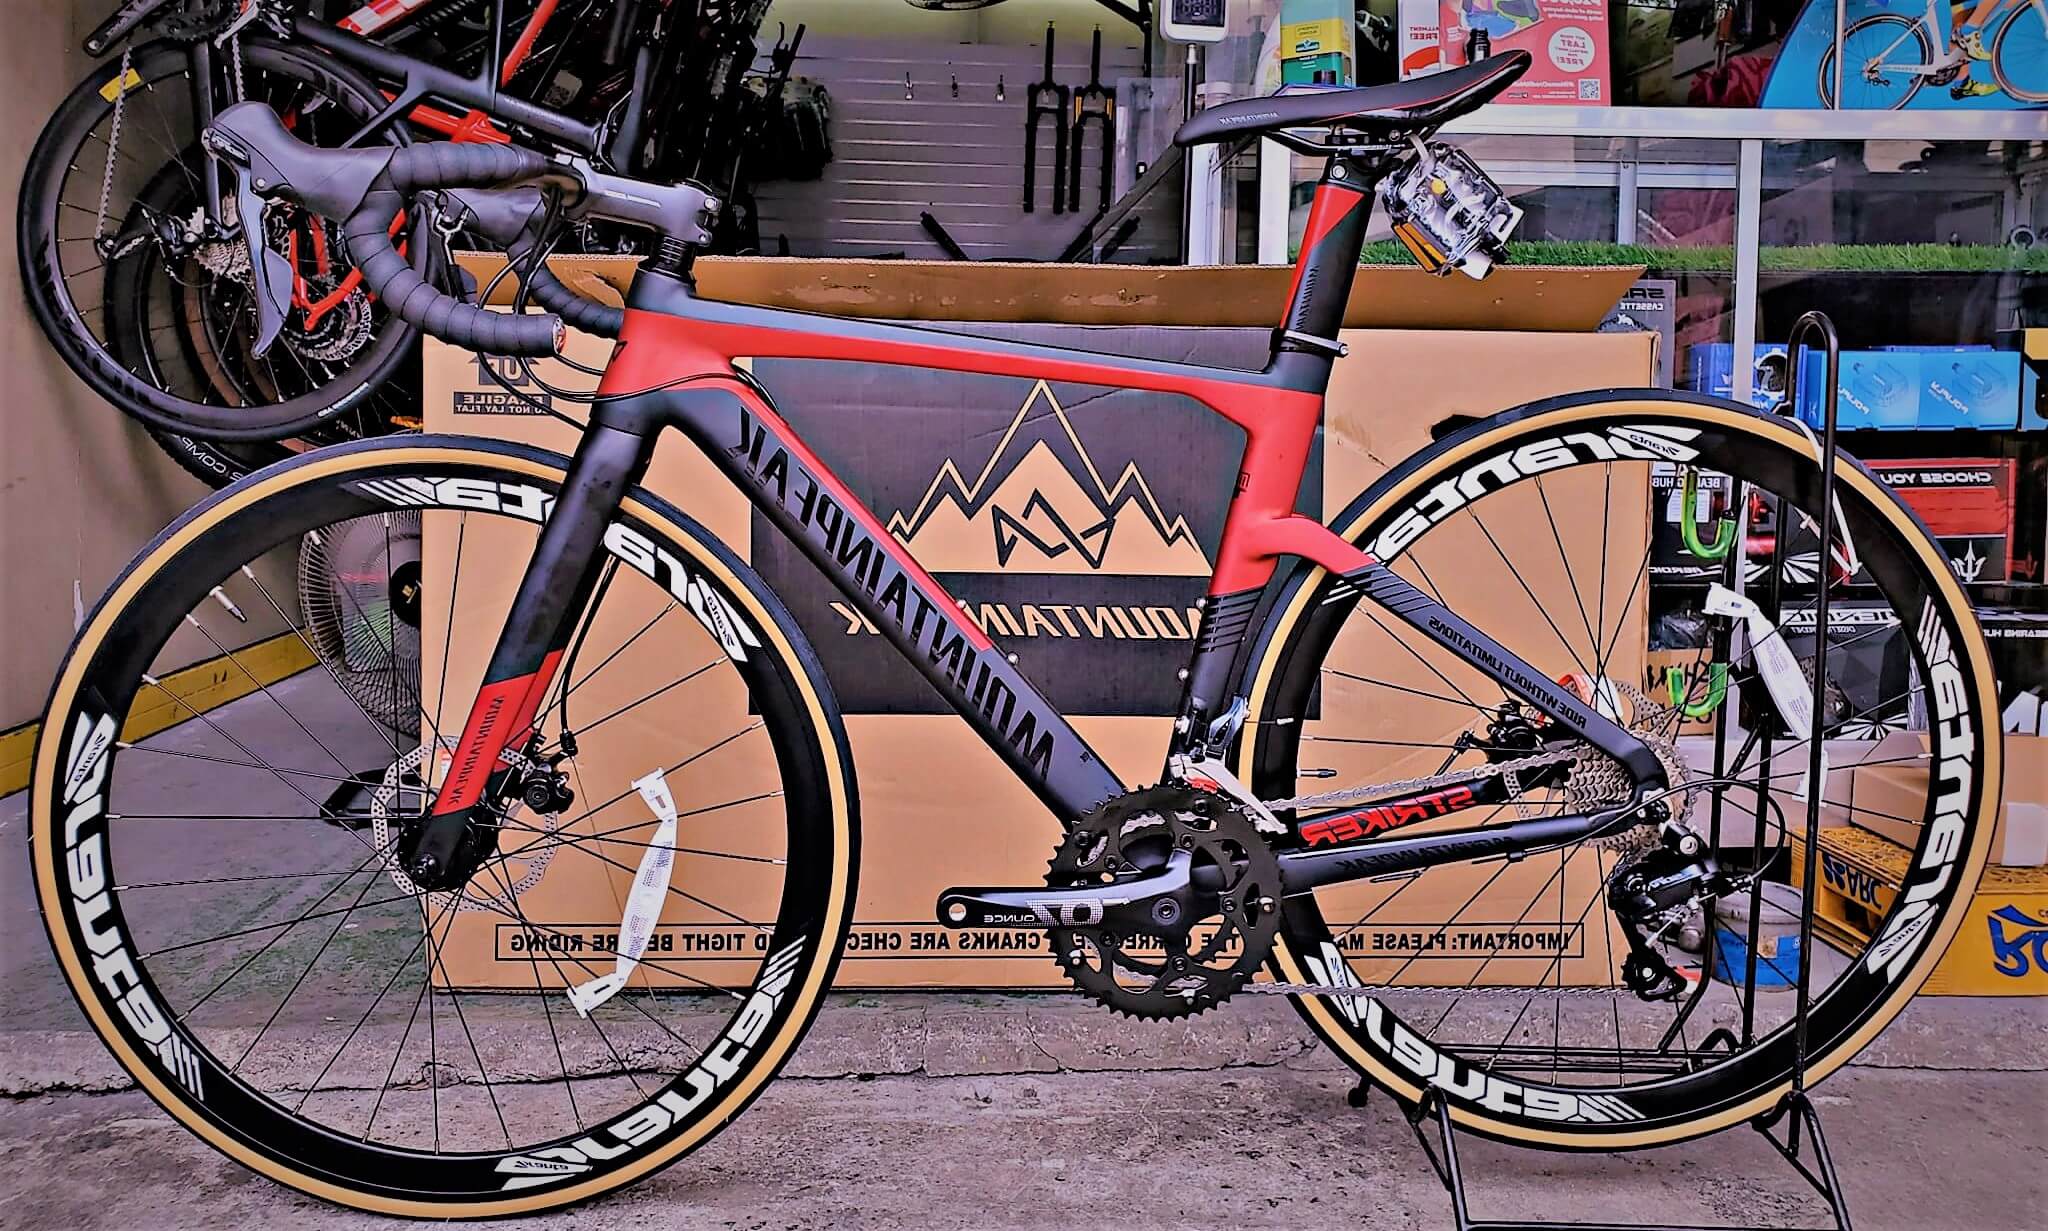
- Flat: You can keep your body position slightly bent to the front. It helps you keep a sore-free body after riding for a sufficient time. A flat handlebar is common in tour and mountain bikes.
- Drop: If you love to gain speed while biking, drop handlebars are most suitable. These handlebars allow your upper body to bend more to push your weight to the front part of the bike.
- Cruiser: You can sit upright to hold the cruiser handlebars. Mostly, these bars are available on cruiser bikes. But some comfy bicycles can also have these handlebars. MTB usually has flat bars while road bikes have drop bars. Also, you can change the handlebars on your bike.
How Can You Raise the Handlebars on a Specialized Bike?
There are several options if you are wondering how to adjust bike handlebars. You can try adjusting the stem on a bike, adding spacers, flipping the stem, increasing the rise on handlebars, or buying a new stem with a greater angle of rise.
There are three essential parts of increasing the height of bike handlebars.
These are:
- Raising bike handlebars having a threadless headset system
- Raising bike handlebars having a threaded headset system
- Modification of the angle of the handlebar
You can adjust any bike’s handlebar heights if you know all these setups.
Let’s check out how you can do the task of raising the bars:
Raising bike handlebars having a threadless headset system
If you are wondering how to raise handlebars on mountain bike threadless, this is the way for you. Raising this type of handlebar is the easiest one to increase the height.
If you have a bike with little scope to adjust the stem, you may need to buy a new stem to match your height.
It will help you distribute body weight properly.
Raising this type of handlebar is the easiest one to increase the height. If you have a bike with little scope to adjust the stem, you may need to buy a new stem to match your height.
It will help you distribute body weight properly.
You can see three bolts in any threadless headset. Among them, one is big, and the others are small. Altogether they can hold it in the right position.
Follow the below steps to increase the height of a bike handlebar with a threadless headset:
- Take an Allen key to loosen and unbolt the cap of the stem. It will keep the handlebars in the right position. Also, reducing the bolt can solve the desired modifications. Then, keep the long bolt and cap in a better place from where you can retake them to reinstall.
- You can unwind the two small bolts to release the stem grip using the Allen key. It can make handlebars and stems from the tube in the exact frame.
- You should stay cautious about breaking any wires that are connected to the derailleurs. Take help from the Allen key to do so.
- Based on the expected height, you should enhance or reduce the spacers. If the old spacers are not working well, you can pick them on from the nearby bike stores.
- Reinstall the stem cap bolt after returning the bars over the bike spacers. Then, use your fingers to tighten the bolt.
- You should maintain the alignment with the front wheel and the placement of the stem. I suggest you spend enough time placing the stem correctly. After putting it properly, you can tighten the bolts.
- Lastly, inspect the headset to see if everything is set appropriately. Also, ensure the tightening of all three bolts. Bike brakes will function properly if you have set things correctly.
Raising bike handlebars having a threaded headset system
Threaded headsets have a unique stem design. Its stem starts from the bike frame and then curves towards the handlebars to confer. Mostly, this headset system is available in vintage models of bikes.
But it is also a method to raise handlebars on a mountain bike.
You can start working by following these steps:
- Take the Allen key and start unbolting the bolts that are above the stem.
- Use a wrench to unwind all the locknuts.
- Now, separate the handlebars from the bike frame.
- Please take out the stem and eliminate any dirt or grime on it.
- After cleaning, dry the stem and put some grease on it.
- Place the handlebars back into the bike stem.
Reinstate the stem to its correct place and tighten all the bolts you removed.
Modification of the angle of the handlebar
Many specialized bikes have adjustable stems probably to solve your problems regarding how to raise handlebars.
The adjustable stems help you setting up the angle of the handlebar. These stems may have bolt placement where the stem and frame meet.
If you want to modify the angle, you can follow two methods:
First Method:
- Take an Allen key and loosen the bolt.
- Adjust the angle you want.
- Tighten the stem again faster.
Second method:
- Take the Allen key and lose all the screws which are placed at the intersection of the handlebar and stem.
- Adjust the angle that you desire after loosening the screws.
It would be best to consider how much height you want to add to the bike handlebars during these angle adjustments.
Ensure the adjustment gives you sufficient comfort and relaxation from any pain or numbness.
To do this you may need to take help of a bike multi tools.
Important tips to remember on raising mountain bike handlebars:
- Don’t over crowd the stem with spacers. The top of the riser pipe needs to be flushed against the top of the handlebars.
- You can buy another stem, most stems are able to be flipped upwards. So if you cannot get your bars high enough with the headset spacers, you can flip your stem upwards.
- Don’t raise too hard as it increases pressure on hands.
- Risers only raise the bar while spacer will bring the bar closer to you.
- Handlebar risers cost more money.
FAQs
How to raise bike handlebars the cheapest way?
The most affordable option is moving up the spacers, which can be done with 3-5mm spacers at the top of the stem.
Alternatively, you can buy an adjustable stem for 20 bucks only with a range of angles that can be set by the user.
Fork tube extensions can also be an option, but they can compromise stability if taken to extremes.
How to raise handlebars on a mountain bike?
Adjust the handlebars by placing an Allen wrench on the rust-infested bolt in the middle of the handlebars to raise handlebars on mountain bike .
Stand on either side of the front wheel, loosen the bolt, and lift the handlebars to your desired height. Keep in mind that the maximum height level is indicated on the stem, so don’t exceed it.
How do you raise the handlebars on a sportbike?
To raise the handlebars on a sportbike, follow the manufacturer’s instructions by releasing the bolts, attaching risers or clip-ons, reattaching the controls and cords, adjusting them, and testing the bike.
How to raise handlebars on road bike?
Adjusting the handlebars on a road bike is not much different than raising handlebars on mountain bike. You can do it threadless way, threaded way or by modifying your handlebar angles.
What is the right amount for raising handlebars on a mountain bike?
The right amount of rise on a bike depends on the rider’s position. A riser bar can improve comfort for taller riders by adjusting the cockpit position.
Riser bars have more flex than straight bars, given they are made of the same material and have identical diameters and widths.
Final Verdict
How to raise handlebars on specialized bikes? I think you can take it as a DIY task. Also, you can use only a few tools like an Allen key and wrench to adjust the handlebars’ height.
But every time you raise the height, test it fast to know things have gone well. After all, a perfect raise can give the ultimate comfy of riding a specialized bike.
I hope you found the perfect answer to your questions on how to raise handlebars on a bike. Have a good day from now on!

Steven is a professional cyclist and his passion is cycling. He has been cycling for the last 6 years and he loves using bikes while outing as well. Based on his experiences with the different types of bikes; he is sharing his opinions about various bikes so that a beginner can start right away. Find him on Twitter @thecyclistguy Happy Biking.


One response to “How to Raise Handlebars on Specialized Bike? – 3 Easy Method”
[…] the quality of the best Max4out mountain bikes is more than satisfactory. That said, Trek or Specialized bike assembly instructions can very well be different from Max4out mountain bike assembly […]