
To change bicycle seat, first loosen the seat clamp bolt. Then, adjust or replace the seat and tighten the bolt.
Changing a bicycle seat is a straightforward task that can enhance your riding comfort and performance. A well-fitted seat ensures better posture and reduces strain during rides. Whether you’re upgrading to a more comfortable saddle or replacing a worn-out one, the process is quick and simple.
This guide will walk you through the steps to change your bicycle seat efficiently. Ensuring you have the right tools and following these steps will help you get back on the road in no time. Proper seat adjustment is crucial for both casual riders and cycling enthusiasts.
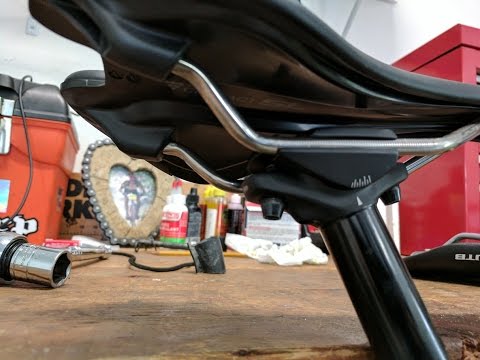
Credit: m.youtube.com
Introduction To Bicycle Seat Adjustment
Proper seat adjustment is crucial for a comfortable ride. A well-positioned seat helps to prevent pain and injuries. It ensures you can ride longer without discomfort. Adjusting your seat correctly can improve your cycling performance. You will enjoy your rides more with a properly set seat.
A good seat position helps to avoid knee pain. It also prevents back pain. Your pedaling becomes more efficient. You can ride faster and longer. Proper seat height ensures your legs are not overextended. It also avoids too much bending of the knees. This helps in reducing fatigue while cycling.
- Pain in knees or back after cycling
- Feeling discomfort on long rides
- Struggling to pedal efficiently
- Experiencing numbness or tingling
- Seat appears worn out or damaged

Credit: www.wikihow.com
Types Of Bicycle Seats
Racing saddles are very light. They have a narrow design. This helps reduce weight. They are great for speed and performance. Many racers prefer these seats. They offer minimal padding.
Comfort saddles provide more padding. They are wider than racing saddles. These seats are great for casual rides. Many riders prefer these for long trips. Comfort is the main focus here.
Gel padding offers a soft feel. It molds to your shape. This makes it very comfortable. Foam padding provides firm support. It returns to its shape quickly. Both types offer different benefits. Choose based on your comfort needs.
Tools You’ll Need
Essential tools include an adjustable wrench, Allen keys, and a bike stand. These items ensure a smooth and hassle-free bicycle seat change.
Basic Toolkit Essentials
Having the right tools makes the job easier. A basic toolkit should have a set of Allen keys. These are useful for most bike adjustments. Wrenches are also essential. They help loosen and tighten bolts. Screwdrivers can be handy too. Both flat-head and Phillips types are useful. Lubricant is good for ensuring smooth parts.
Specialized Bicycle Tools
Bike-specific tools can make the job quicker. A torque wrench ensures bolts are tightened correctly. Bike stands make working on your bike more comfortable. Seat clamps help hold the seat in place. Cable cutters might be necessary if cables obstruct the seat. A seat post gauge can ensure the seat is level.

Credit: www.ifixit.com
Removing The Old Seat
Loosen the bolts under the old seat using a wrench, then slide it off the seat post. Ensure the area is clean before installing the new seat.
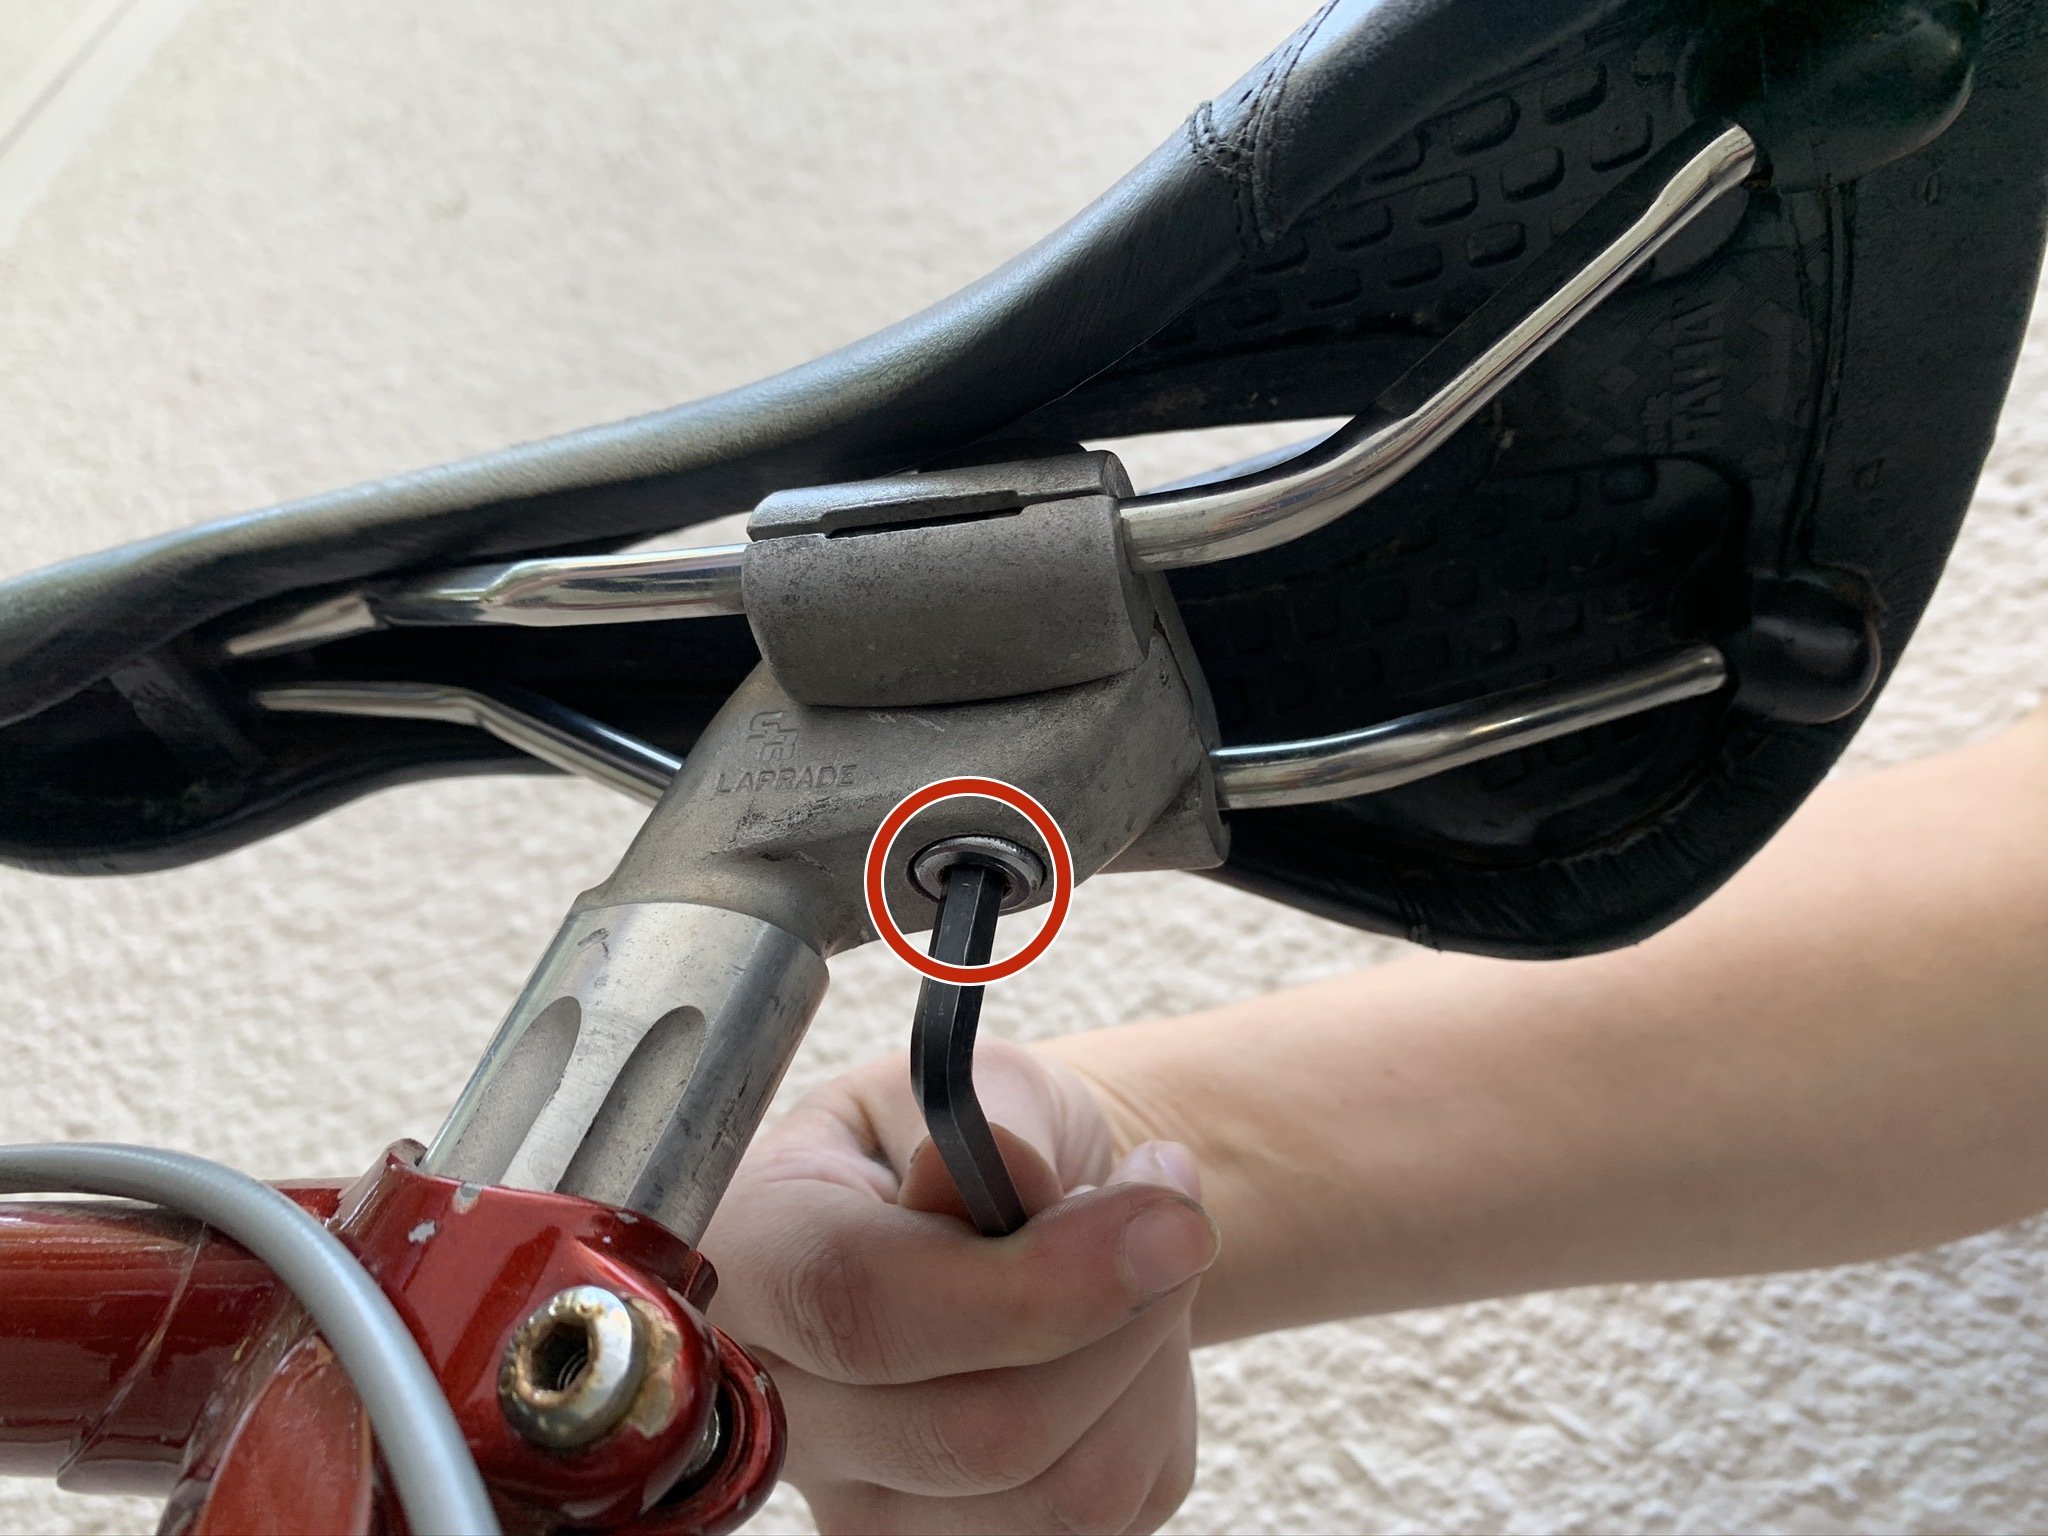
Loosening The Seat Clamp
Use an Allen wrench to loosen the seat clamp. Turn the wrench counterclockwise. The seat clamp should start to loosen. Make sure not to remove the bolt completely. Just loosen it enough.
Detaching The Seat From The Post
Grip the seat firmly. Gently twist and pull the seat upwards. The seat should come off the post. If it’s stuck, wiggle it a bit. Be careful not to damage the post.
Choosing The Right Seat
Changing your bicycle seat can greatly enhance comfort and performance. Start by loosening the bolts under the saddle. Adjust the seat to your preferred height and angle, then tighten the bolts securely.
Factors To Consider
Comfort is key. Ensure the seat feels good when you sit. Durability matters. The seat should last a long time. Width is important. It should match your sit bones. Padding affects comfort. Too much or too little can be bad.
Shape changes how you ride. Some shapes help with speed, others with comfort. Material impacts weight and feel. Leather, gel, and foam are common choices. Price can vary a lot. You don’t need to spend a lot for a good seat.
Testing Different Seats
Try different seats. See which one feels best. Borrow seats from friends. This helps you know what you like. Visit a bike shop. They often let you test seats. Check return policies. Some stores let you return a seat if you don’t like it.
Adjust the seat height. A good fit is important. Ride for at least 30 minutes. This gives you a better idea of comfort. Listen to your body. Pain means the seat might not be right.
Attaching The New Seat
Attaching the new seat involves aligning the rails with the seat post clamp, then tightening the bolts securely. Ensure the seat is level and positioned for comfort before final adjustments.
Aligning The Seat Rails
Align the new seat rails with the seat post clamp. Make sure the rails are centered. Proper alignment ensures a comfortable ride. Adjust the seat angle to your preference.
A level seat is usually the most comfortable. Slightly tilt the seat if needed. Check the alignment from different angles to be sure.
Tightening The Seat Clamp Securely
Tighten the seat clamp bolts with a wrench. Ensure the seat is secure. Use equal pressure on both bolts. Avoid over-tightening to prevent damage.
Test the seat for stability. Wiggle the seat to check if it moves. If it moves, tighten the bolts more. Double-check the alignment after tightening.
Adjusting Seat Height And Angle
The seat height is very important. It helps you ride comfortably. First, stand next to your bike. Lift your leg over the frame and sit on the seat. Your leg should be straight when the pedal is at the bottom. Adjust the height until it feels right.
The tilt of the seat affects your comfort. You can change the angle with a simple tool. Loosen the bolt under the seat. Tilt the seat up or down. Tighten the bolt once you find the best angle. Make sure it feels good when you sit.
Final Checks And Comfort Test
Check the tightness of the seat clamp. Make sure the seat does not move. Inspect the seat post for any damage. Look for cracks or bends. Ensure all bolts are securely fastened. Test the seat height by sitting on the bike. Your feet should touch the ground comfortably. Adjust if necessary. Check for any wobbles or instability.
Start with a short ride. Pay attention to your comfort and stability. Adjust the seat angle if you feel any discomfort. Ensure your knees are slightly bent when pedaling. Listen for any unusual sounds from the seat.
Check for any shifting of the seat during the ride. Make small adjustments as needed. Repeat the test ride until you are satisfied.
Maintenance Tips For Your New Seat
Cleaning your bicycle seat helps it last longer. Use a soft cloth to wipe the seat. Clean it once a week. Dirt and grime can damage the seat. A clean seat is more comfortable. Always use mild soap and water.
Harsh chemicals can harm the material. Dry the seat with a clean towel. Make sure it is completely dry. Moisture can cause mold and mildew.
Check the bolts holding the seat. Tighten them if they are loose. Loose bolts can cause accidents. Adjust the seat height for comfort. A proper seat height prevents pain. Make these adjustments monthly.
Always use the right tools. Using the wrong tool can damage the seat. Ensure the seat is not wobbly. A stable seat is safer to ride.
Common Mistakes To Avoid
Over-tightening the bolts can damage the seat or the bike frame. It can also make future adjustments difficult. Always use the right tools and follow the manufacturer’s torque specifications. Loose bolts can cause the seat to wobble. Check the tightness after a few rides.
Ignoring the seat position can lead to discomfort and poor riding posture. Make sure the seat is level and aligned with the bike frame. A tilted seat can cause back pain.
Adjust the seat height so your legs are slightly bent at the bottom of the pedal stroke.
Advanced Adjustments For Seasoned Cyclists
Micro-adjusting can make a big difference in your ride. Small changes to the seat angle can improve comfort. Adjusting the seat height can enhance performance. A proper angle helps reduce strain on your back.
Minute changes to the position can also help. Moving the seat forward or backward can affect your speed. Experiment with small adjustments for best results. Keep a tool handy for quick tweaks during rides. Regular checks ensure everything stays in place.
Consult a professional if you experience discomfort. Persistent pain is a sign something is wrong. A bike fitting expert can help. They use precise tools to measure your setup.
Professionals can spot issues you might miss. They offer advice tailored to your needs. A small fee can save you from long-term problems. Consider a professional fitting if you ride often.
Conclusion: Enjoy The Ride With Your New Seat
Transform your cycling experience with a new seat. Follow our guide to change your bicycle seat effortlessly and enjoy a smoother ride. Embrace the comfort and stability of a properly installed bike seat.
Recap Of Key Steps
First, gather all necessary tools like wrenches and screwdrivers. Next, remove the old seat by loosening the bolts. Position your new seat on the bike frame. Secure the new seat by tightening the bolts. Make sure everything is tight and safe.
Encouragement To Explore
Now, enjoy your rides with the new seat. Feel the comfort as you pedal through your routes. Try different seat positions to find what suits you best. Don’t be afraid to explore new trails. Your new seat can handle it. Happy cycling!
Frequently Asked Questions
Is It Easy To Change A Bike Seat?
Yes, changing a bike seat is relatively easy. You need basic tools and can follow simple steps. Ensure proper alignment.
What Tool To Change Bike Seat?
To change a bike seat, use an Allen wrench or a bike-specific multi-tool. These tools adjust seat height and angle.
Are All Bike Seats Interchangeable?
Not all bike seats are interchangeable. Seat compatibility depends on the bike type and seat post size. Check specifications before purchasing.
How To Take Off A Bike Seat?
To take off a bike seat, first, loosen the seat clamp bolt. Next, slide the seat post out of the frame.
How Do You Remove A Bike Seat?
Loosen the seat clamp bolt and slide the seat off.
Conclusion
Changing a bicycle seat is a straightforward task that enhances riding comfort. Follow the steps for a smooth swap. Proper adjustment ensures a better cycling experience.
Regularly check your seat for wear and tear. Enjoy your rides with a perfectly fitted seat.
Happy cycling and stay safe on the road!

Steven is a professional cyclist and his passion is cycling. He has been cycling for the last 6 years and he loves using bikes while outing as well. Based on his experiences with the different types of bikes; he is sharing his opinions about various bikes so that a beginner can start right away. Find him on Twitter @thecyclistguy Happy Biking.


Leave a Reply