The cheapest bicycle power meter currently available is the Favero Assioma UNO. It offers reliable performance at an affordable price.
Cyclists seeking to improve their performance often turn to power meters for precise data. These devices measure the power output of each pedal stroke, offering valuable insights into one’s cycling efficiency. Favero Assioma UNO stands out as a cost-effective option, delivering accurate readings without breaking the bank.
This single-sided power meter is easy to install and compatible with most bikes. By providing real-time data, it helps cyclists fine-tune their training, leading to better results. Its affordability makes it an excellent choice for both amateur and professional riders looking to gain a competitive edge.

Credit: m.youtube.com
Why Invest In A Bicycle Power Meter?
Power-based training helps cyclists improve their performance. It provides accurate data on effort and progress. Cyclists can use this data to train smarter. They can also avoid overtraining and injuries.
Power meters offer consistent measurements of effort. This allows for better training plans. Athletes can track their progress and make adjustments. This leads to better results and faster improvements.
A power meter helps in tracking performance over time. It records data for each ride. Cyclists can compare past performances easily. They can see where they improved and where they need work.
Using a power meter, it’s easy to set goals and achieve them. The data helps in staying motivated. Cyclists can see their efforts pay off over time. This makes training more rewarding and fun.
The Cost Barrier: High-end Vs Affordable Options
Premium power meters offer advanced features. They have high accuracy. They provide detailed data analysis. Some models have dual-sided measurement. They can measure power from both legs. These models often have a sleek design.
They are made from durable materials. Some even offer Bluetooth and ANT+ connectivity. This allows easy data transfer to apps. Premium models are often lightweight. They are designed for professional cyclists. The high cost is a barrier for many.
Budget-friendly power meters are more accessible. They offer basic but essential features. Most budget models have single-sided measurement. This means they measure power from one leg. They still provide valuable data. Some budget options also have Bluetooth.
This allows for easy data transfer. These models are often heavier and less durable. But they are good for beginners. They provide a good entry point into power training. The cost is much lower than premium models.
Key Features Of A Reliable Power Meter
A reliable power meter must provide accurate readings. It should measure power output precisely. Consistent data helps track progress. Sudden changes can mislead cyclists. Quality sensors ensure better accuracy. Always check user reviews for reliability. Consistent data builds trust.
Compatibility with your bike is crucial. Not all meters fit all bikes. Easy installation saves time. Clear instructions help a lot.
Some meters need professional help. Wireless models are easier to install. Check if it works with your bike’s computer. Compatibility ensures better performance.
Top Picks For Budget Power Meters
PowerPod V3 is a great budget option. It offers accurate power readings. It is easy to install. Garmin Vector 3 is another affordable choice. It has good accuracy. It pairs well with Garmin devices. Stages Cycling G3 is also popular. It is lightweight and reliable. All these meters are under $500.
Many users love the PowerPod V3. They find it very easy to use. Garmin Vector 3 users like its compatibility with other Garmin devices. Stages Cycling G3 has a loyal following. Users appreciate its lightweight design. These models are highly recommended by cyclists.
Installation Tips For The Cheapest Power Meters
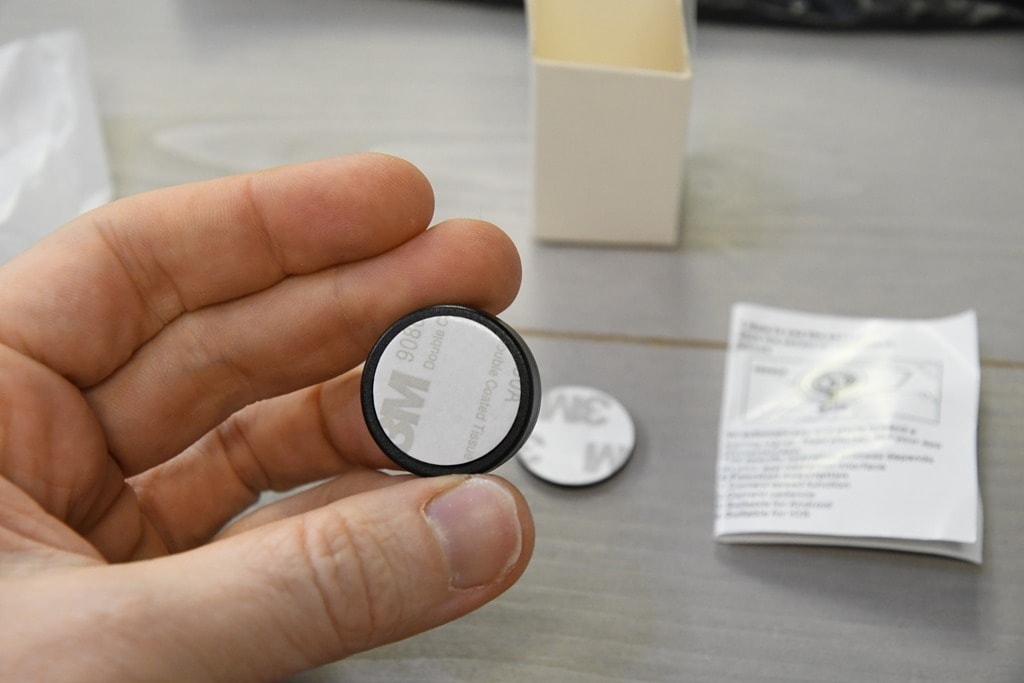
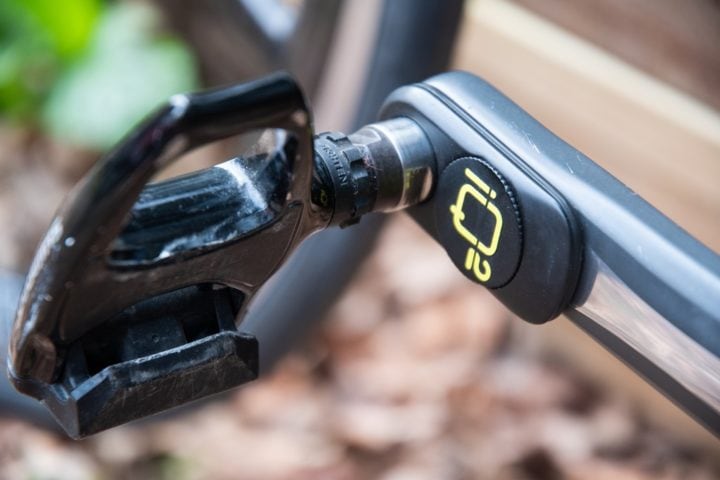
Installing the cheapest bicycle power meter requires precise calibration for accurate readings. Ensure a clean crank arm before attaching the sensor. Follow manufacturer instructions closely for optimal performance.
Step-by-step Installation Guide
First, gather all the tools you need. You will need a wrench and a screwdriver. Make sure your bicycle is clean. Dirt can cause problems during installation. Attach the power meter to the pedal. Tighten the screws carefully.
Check if the meter is secure. Connect the power meter to your bike computer. Make sure the connection is strong. Test the power meter before riding. Ensure it shows accurate readings.
Common Installation Challenges
Sometimes screws might not fit well. This can make the meter loose. Make sure to double-check the screws. Another issue is the connection. Sometimes the power meter does not connect well to the bike computer.
Ensure both devices are compatible. Dirt or rust can also cause problems. Clean all parts before installation. If problems continue, check the user manual. It often has troubleshooting tips.

Credit: www.dcrainmaker.com
Calibrating Your Power Meter For Accurate Readings
First, mount your bike securely. Make sure the power meter is properly attached. Turn on the power meter. Use your bike computer to find the calibration option. Follow the on-screen instructions. Spin the pedals backward a few times. Wait for the calibration to complete. Check the calibration value displayed. Repeat the process if needed.
Ensure your power meter firmware is up to date. Check for any visible damages. Replace the battery if necessary. Recalibrate in a stable environment. Avoid windy or uneven surfaces. If problems persist, contact customer support.
Integrating Power Data Into Your Training Regimen
Training zones help you measure your effort levels. These zones are based on your power output.
You can create different zones for easy rides and hard workouts. Each zone will target a specific intensity level.
Tailored workouts will improve your performance. Use your power meter to track your progress.
You can adjust your training to stay in the right zone. This helps you get stronger faster.
Maximizing The Value Of Your Investment
Keep the power meter clean after every ride. Dirt and grime can affect its accuracy. Use a soft cloth and mild soap to clean the device. Avoid using high-pressure water as it can damage the sensitive parts.
Check the batteries regularly and replace them when needed. A well-maintained power meter will last longer and perform better. Store the bike in a dry place to prevent rust and corrosion.
Install the latest software updates for your power meter. Updates can improve accuracy and add new features. Use compatible apps to track your performance. Apps can provide detailed analysis of your rides.
Sync the data regularly to keep track of your progress. Some apps offer training plans tailored to your needs. Take advantage of these features to get the most out of your power meter.
Future Of Affordable Power Meter Technology
Power meters are becoming more affordable. New technology is making this possible. Smaller and smarter sensors are being developed. These sensors are cheaper to make. This means the price for consumers goes down.
Wireless technology is also improving. This makes the meters easier to install. No need for complicated wires. Battery life is getting longer too. This means less frequent charging. More reliable readings help cyclists train better.
Consumers can look forward to better deals. Affordable power meters will be available soon. These meters will have many features. They will be accurate and easy to use. Even beginners can use them with ease.
Support from companies will improve. There will be more guides and tutorials. This will help users understand their power meters. Easy setup and maintenance will be a priority. Expect to see more options in the market.

Credit: www.dcrainmaker.com
Frequently Asked Questions
What Is The Alternative To A Power Meter On A Bike?
An alternative to a power meter on a bike is a heart rate monitor. Cyclists can also use perceived exertion and cadence sensors.
Is A Power Meter Worth It On Bike?
A power meter on a bike is worth it for serious cyclists. It provides accurate data to improve performance.
How Much Is A Power Meter For A Bike?
A power meter for a bike costs between $300 and $1,200, depending on the brand and features.
Why Are Bike Power Meters So Expensive?
Bike power meters are expensive due to advanced technology, precision engineering, and high manufacturing costs. They offer accurate performance data, enhancing training efficiency.
What Is The Cheapest Bicycle Power Meter?
The cheapest bicycle power meter often costs around $200-$300. Prices vary based on brand and features.
Conclusion
Choosing the cheapest bicycle power meter can boost your cycling performance without breaking the bank. Consider your needs and budget carefully.
Affordable options still offer accurate data and durability. Investing in a budget-friendly power meter can enhance your training and help you reach your cycling goals efficiently.
Happy riding!

Steven is a professional cyclist and his passion is cycling. He has been cycling for the last 6 years and he loves using bikes while outing as well. Based on his experiences with the different types of bikes; he is sharing his opinions about various bikes so that a beginner can start right away. Find him on Twitter @thecyclistguy Happy Biking.


Leave a Reply