Bicycle brake assembly diagram! Get to grips with how your bike stops with our super easy guide! Hey there, young cyclists!
Have you ever wondered how your bicycle stops when you squeeze the brake lever? It’s like magic, but it’s actually science and engineering! Today, we’re going to learn all about bicycle brake assemblies.
What Are Bicycle Brakes?
Bicycle brakes are super important. They help us stop our bike when we need to. There are different types, but all of them have the same job: to keep you safe!
Here’s a cool fact: without brakes, it would be very hard to control the bike, especially going downhill. Imagine sliding down a hill with no way to stop. Pretty scary, huh? Thankfully, we have brakes.
Types of Brakes
Before we check out the diagram, let’s talk about two main types of brakes.
- Rim brakes – These press against the wheel’s rim.
- Disc brakes – These press against a disc attached to the wheel.
Both types work great. But, they look a little different when put together. Let’s look at a diagram for each type one by one!

Credit: www.theproscloset.com
Credit: coolofthewild.com
Rim Brake Assembly Diagram
Below is a simple diagram showing what a rim brake looks like:
In this diagram, we see a few key parts:
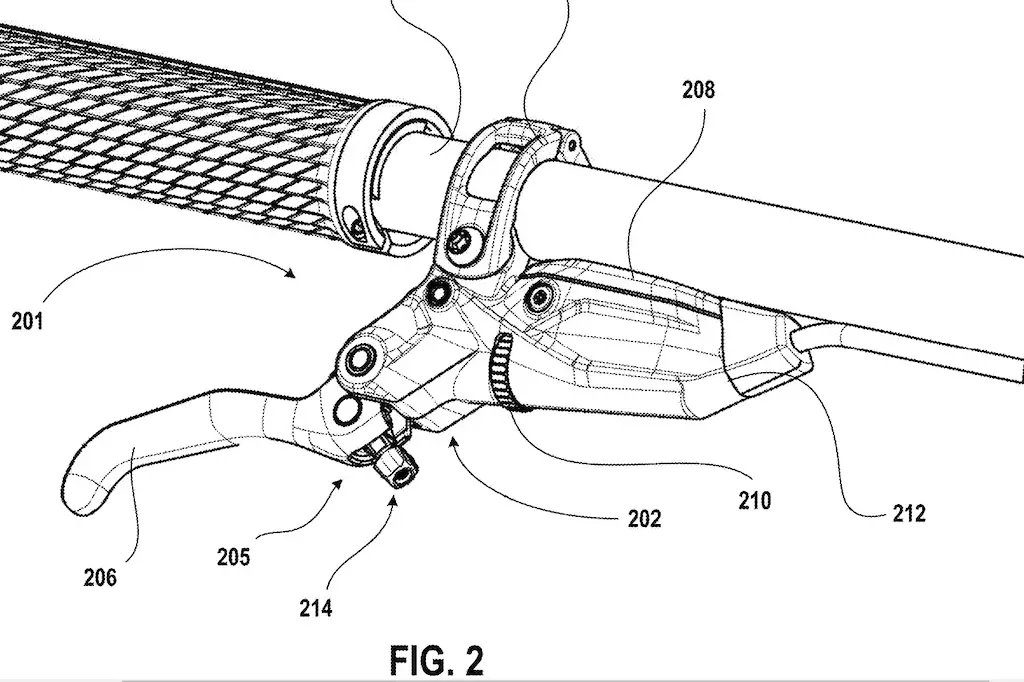
- Brake Lever – This is what you squeeze to stop.
- Brake Cable – This connects the lever to the brakes.
- Brake Caliper – This part holds the brake pads.
- Brake Pads – These press against the rim to stop the bike.
When you pull the lever, the cable moves. This makes the caliper push the pads onto the rim. Then, your bike slows down!
Disc Brake Assembly Diagram
Now, let’s take a look at a disc brake setup:
Just like the rim brake, it has similar parts but they work a bit differently.
- Brake Lever – Also what you squeeze to stop.
- Brake Cable or Hydraulic Line – Connects the lever to the brake.
- Brake Caliper – Holds the brake pads for disc brakes.
- Brake Pads – These hug the disc to stop the bike.
- Brake Disc – The round disc that the pads press against.
The lever pulls a cable or pushes fluid (for hydraulic brakes). This makes the caliper press the brake pads onto the disc. And like magic, you stop!
How to Keep Your Brakes Happy
To keep your bike brakes working great, you need to take care of them. Here’s how:
- Check the pads – Make sure they are not too worn out.
- Listen for noises – Squeaky brakes may need a little clean.
- Keep them clean – Use a cloth to wipe off any dirt or grime.
- Ask for help – If something seems wrong, ask an adult to check.
Taking care of your brakes means they will take care of you when you need them.
Learning is Fun!
So, did you have fun learning about bicycle brakes? It’s pretty awesome to know how things work. Remember, if you’re not sure about your brakes, it’s best to ask for help. Stay safe and keep biking!
If you have more questions about your bicycle or want to learn more cool stuff, just let us know. Happy cycling!

Frequently Asked Questions For Bicycle Brake Assembly Diagram: A Visual Guide To Control!
What Parts Are In A Bicycle Brake Assembly?
The bicycle brake assembly typically includes brake levers, cables, calipers, brake pads, and mounting hardware.
How Does A Bicycle Brake System Work?
A bicycle brake system works by the levers engaging cables that clamp the brake pads onto the wheels, creating friction and slowing the bicycle.
Can I Upgrade My Bicycle Brakes Easily?
Upgrading bicycle brakes can be straightforward, but compatibility with the bike’s design and wheel type is essential for seamless installation.
What Are The Common Types Of Bicycle Brakes?
Common bicycle brake types are rim brakes (caliper, cantilever, V-brake), disc brakes (mechanical or hydraulic), coaster brakes, and drum brakes.
How Often Should I Maintain My Bike’s Brakes?
Regular maintenance, including brake pad inspection and cable adjustment, is recommended every few months or after extensive riding to ensure optimal performance.
Conclusion
Understanding the brake assembly diagram is essential for any cyclist who wants to have a safe and smooth ride.
By familiarizing yourself with the different components and how they work together, you can ensure that your brakes are in optimal condition and functioning properly.
Whether you’re a beginner or an experienced rider, having a good grasp of the brake assembly diagram will give you the confidence to handle any braking situation on your bicycle.
So next time you’re out on your bike, take a moment to appreciate the intricate system that keeps you safe and in control. Happy cycling!

Steven is a professional cyclist and his passion is cycling. He has been cycling for the last 6 years and he loves using bikes while outing as well. Based on his experiences with the different types of bikes; he is sharing his opinions about various bikes so that a beginner can start right away. Find him on Twitter @thecyclistguy Happy Biking.

